Creating stunning decorations with royal icing requires mastery of techniques that go beyond just spreading the frosting. For anyone looking to elevate their baking skills, mastering royal icing piping techniques is essential for achieving smooth lines, precise designs, and professional-looking desserts. Whether you’re working on cakes, cookies, or other sweet treats, understanding how to prepare, store, and apply royal icing correctly is key to success. This guide will walk you through everything you need to know, from achieving consistent texture to mastering intricate patterns, ensuring your creations look polished and perfect every time. With the right tools, patience, and practice, you can unlock the full potential of royal icing and take your decorating skills to the next level.
Key Takeaways
– Pros of Royal Icing for Piping: Quick drying and durable finish.
– Cons of Royal Icing for Piping: Thick consistency can clog pipes, and short work window.
– Alternatives to Royal Icing: Buttercream for creamy texture and ease of use, cream cheese icing for soft consistency.
– Best Royal Icing Piping Techniques: Include outlining, flooding, leaf/petal, writing, impression, and stringwork.
– Tools and Materials: Disposable piping bags, round or star tips, couplers, royal icing, food coloring, and parchment paper.
– Tips for Success: Adjust consistency, maintain tool cleanliness, practice regularly, and work on non-stick surfaces.
– When to Use Royal Icing: Ideal for simple designs and quick projects requiring a sturdy finish.
– Step-by-Step Guide: Prepare tools, outline designs, pipe smoothly, add details, and finish with a polished look.
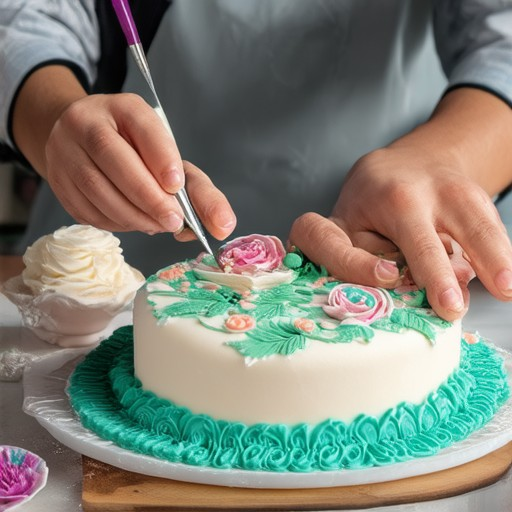
How to Achieve Perfect Piping Consistency with Royal Icing
To master the art of achieving the ideal piping consistency for royal icing, follow these organized steps:
- Start with the Right Ratio: Begin with a standard royal icing recipe consisting of 3 cups powdered sugar, 1 cup milk, and 1 teaspoon vanilla extract.
- Adjust for Thickness:**
- Add 1-2 tablespoons of powdered sugar incrementally until the icing reaches your desired thickness. This method allows precise control over the consistency.
- If the icing is too runny, gradually add more powdered sugar until it becomes slightly thicker, ensuring it remains usable for piping.
- Use Cornstarch for Stability:**
- Incorporate a quarter teaspoon of cornstarch to absorb moisture and firm up the icing, preventing it from sliding off or losing shape during decoration.
- Enhance Consistency with Cream Cheese:**
- Add 1-2 tablespoons of cream cheese to achieve a stiffer texture ideal for detailed designs. This addition adds body without overpowering the flavor.
- Stiffen with Egg Whites:**
- Beat 1 egg white and fold it into the icing mixture to stiffen it. Use sparingly to avoid a noticeable taste difference.
- Mix Thoroughly:**
- Whisk or stir the mixture thoroughly to eliminate lumps and ensure even distribution of added ingredients.
- Consider Room Temperature:**
- Work in a cool, dry environment to prevent the icing from melting or weeping. Briefly refrigerate if necessary before use.
- Apply Correctly:**
- Use a clean pastry bag fitted with a fine-tipped piping nozzle for controlled application. Cut the tip to match your design needs.
- Allow to Dry:**
- Let the piped icing dry completely before adding details or edible decorations to avoid smudging or cracking.
- Experiment Mindfully:**
- Test your adjustments on scrap dough to find the consistency that works best for your specific project.
By systematically adjusting the royal icing with powdered sugar, cornstarch, cream cheese, or egg whites, you can achieve the perfect piping consistency, ensuring professional-looking results every time.
How to Pipe Straight Lines with Royal Icing
To pipe straight lines with royal icing, follow these organized steps for achieving precise and elegant designs:
- Prepare the Royal Icing: Ensure the icing is the right consistency—not too runny or too thick. Adjust the amount of milk or powdered sugar as needed for optimal flow.
- Choose the Right Piping Tip: Select a fine-tipped piping bag, such as a #2 or #3 tip, depending on the thickness of the lines you desire.
- Hold the Piping Bag Properly: Grasp the bag firmly at the base, allowing you to control the pressure and movement effectively.
- Practice on Parchment Paper: Before decorating the cake, practice your technique on a sheet of parchment paper to master the pulling and flowing method.
- Apply Steady Pressure: Use consistent pressure as you move the piping bag in a straight line. Lift the tip slightly to create a “pulling” effect for smooth lines.
- Adjust for Line Thickness: Experiment with different pressures and tip sizes to achieve thicker or thinner lines, catering to your design needs.
- Clean the Tip Regularly: Keep a small bowl of water nearby to clean the tip if it becomes clogged, ensuring uninterrupted flow during decoration.
By following these steps, you can confidently create straight, neat lines with royal icing, enhancing your cake decorating projects with professional precision.
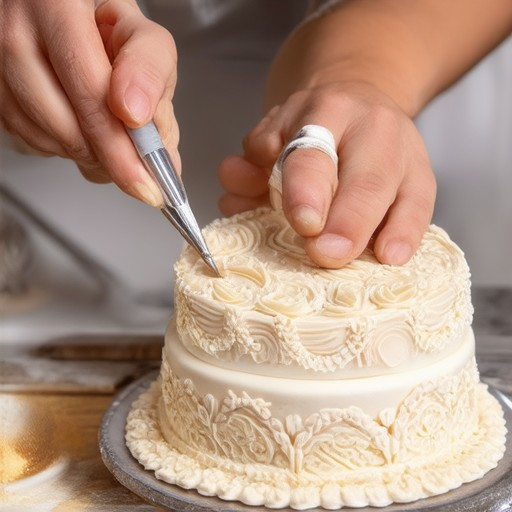
What Are the Different Royal Icing Techniques?
Royal icing is a versatile medium used in baking and decorating, offering several techniques to create stunning designs. Below are the primary methods and their applications:
Piping
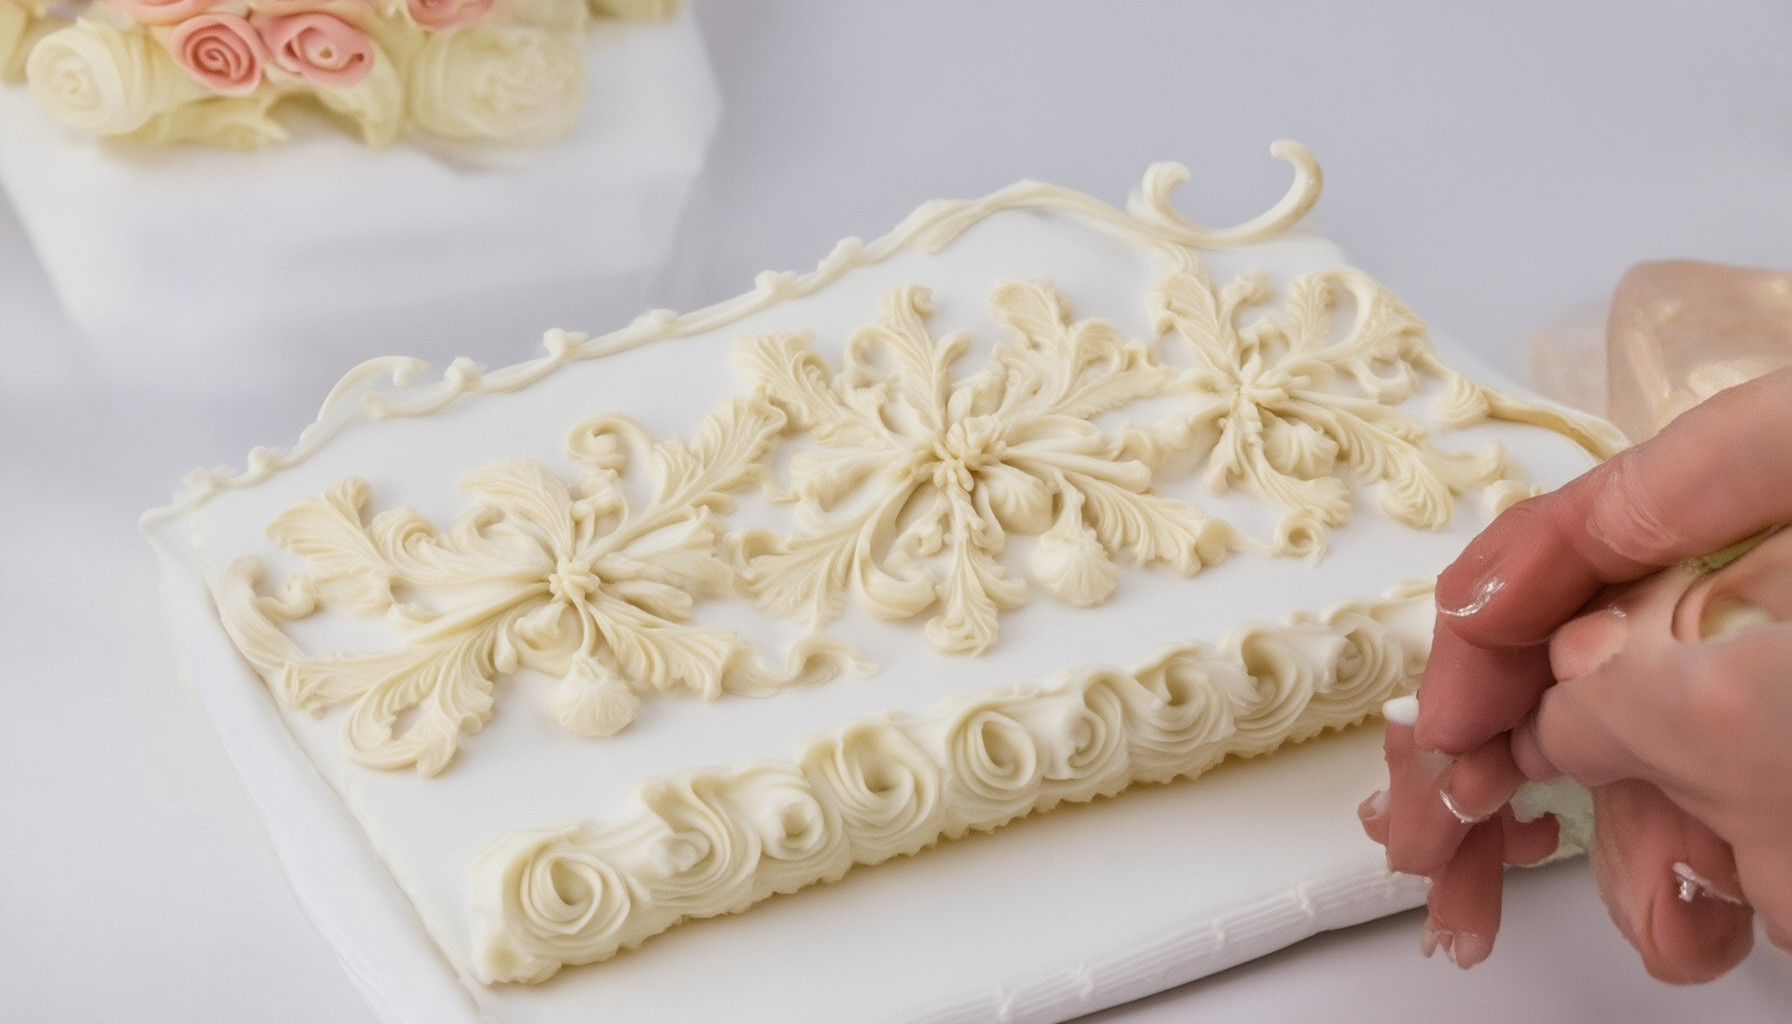
Piping involves applying royal icing through a narrow tip or pastry bag. This method allows for precise control, enabling the creation of intricate designs such as:- Borders: A continuous line around the edge of a cookie or cake.- Letters: Writing names or initials using piped icing.- Shapes: Creating geometric shapes or flowers using different tip sizes like round, star, or leaf tips.- Decorative Designs: Adding detailed patterns or motifs for festive occasions.
Outlining
Outlining is a technique where a thin layer of royal icing is applied around the edge of a baked good to define its shape or create a visible border. This method is commonly used for:- Cake Decorating: Highlighting the tiers or sides of a cake.- Cookie Shapes: Enhancing the visibility of cut-out cookies.- Textural Interest: Adding dimension and depth to designs.
Flooding
Flooding involves covering the surface of a cookie or cake completely with royal icing, resulting in a smooth, even finish. This technique is ideal for:- Monograms: Creating personalized designs by filling in the negative space.- Full Coverage: Achieving a uniform look for themed events or holidays.- Color Blending: Layering different colors to create ombre effects or gradient designs.
Additional Techniques
Beyond the basics, advanced techniques can elevate your royal icing work:- Basketweaving: Layering royal icing in a crisscross pattern to create a woven effect.- Stippling: Applying dots of icing for a textured, abstract look.- Marbling: Swirling royal icing to create swirling, colorful patterns.
By mastering these techniques, you can transform simple baked goods into works of art, perfect for birthdays, weddings, or special occasions. Explore more royal icing ideas and tutorials on our tutorial page or browse our gallery for inspiration.
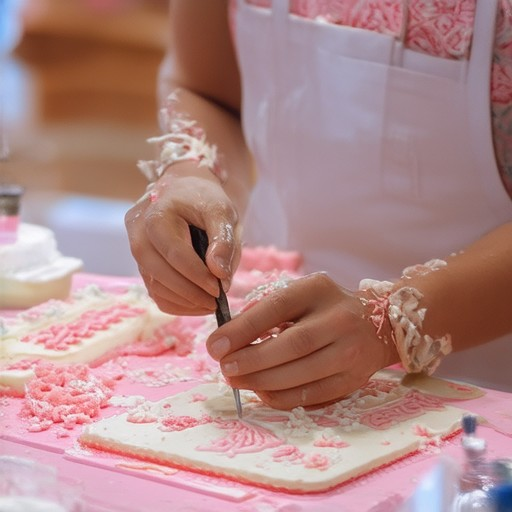
Is Royal Icing Good for Piping?
Royal icing is commonly used in cake decorating, known for its smooth, shiny finish and quick-drying properties. While it excels in tasks like flooding and outlining, its suitability for piping depends on several factors.
Pros of Using Royal Icing for Piping
- Quick Drying: Royal icing dries rapidly, reducing the risk of smudging or spreading, which is beneficial for detailed designs.
- Durable Finish: Once dried, it provides a strong, durable finish that holds up well under various conditions.
Cons of Using Royal Icing for Piping
- Thick Consistency: Its thick texture can clog pipes, making it difficult to achieve fine details.
- Short Work Window: Due to its quick drying time, it may set before the design is complete, leading to unevenness or gaps.
Alternatives to Royal Icing for Piping
- Buttercream: A popular choice for piping due to its creamy texture and ease of control, allowing for precise detailing.
- Cream Cheese Icing: Offers a softer consistency that’s easier to pipe and more flexible for intricate designs.
Tips for Using Royal Icing for Piping
- Adjust Consistency: Modify the royal icing recipe slightly by adding a touch more liquid to thin it out, aiding in smoother flow.
- Regular Tool Maintenance: Keep your pastry bags and tips clean to prevent clogs and ensure smooth application.
- Practice and Patience: Mastery of royal icing piping requires practice to overcome challenges like clogging and achieving precise lines.
When to Choose Royal Icing for Piping
- Simple Designs: Ideal for straight lines or basic patterns where precision isn’t as critical.
- Quick Projects: Suitable for projects requiring a sturdy finish that won’t smudge, even if it means more careful application.
In conclusion, royal icing can be used for piping with proper technique and tool care, though it may not be the easiest option. Its strengths lie in durability and quick drying, making it a viable choice for specific piping needs, particularly when a strong, professional finish is desired.
Best Royal Icing Piping Techniques
Royal icing piping is an essential skill for achieving professional-looking desserts and cakes. Here are some of the most effective techniques to master royal icing piping:
1. Tools and Materials Preparation
- Tools: Disposable piping bags, round or star tips, couplers, and a steady hand.
- Materials: Royal icing (pre-made or homemade), food coloring (gel or paste), and a surface to work on like parchment paper.
2. Basic Royal Icing Piping Techniques
a. Pipe Edges and Borders
- Hold the piping bag with the tip facing upwards and twist the bag to control the flow.
- Pipe a continuous line along the edge of the cake or cookie, applying steady pressure.
- For thicker borders, use a stiffer consistency by adding less liquid to the royal icing.
b. Fill In Gaps and Seams
- Use the tip to fill small gaps or seams between fondant pieces or sugar flowers.
- Work slowly and carefully to ensure smooth transitions between surfaces.
3. Advanced Royal Icing Piping Techniques
a. Create Detailed Flowers
- Start by outlining the shape of the flower with a fine-tipped brush or a thin piping tip.
- Add petal details by piping small loops or dots around the base of each petal.
- Use color shading by varying the pressure and thickness of the royal icing streams.
b. Make Lattice Work
- Begin by creating horizontal lines of royal icing across the surface.
- Interweave vertical lines perpendicular to the horizontal ones to create a lattice pattern.
- Use different colors to add visual interest and dimension to the design.
4. Tips for Perfect Royal Icing Piping
- Practice consistently to achieve uniformity in your piping designs.
- Keep your piping bags clean and dry to prevent clogging.
- Work on parchment paper or a non-stick surface to allow for easier cleanup.
- Experiment with different pressures and speeds to create unique textures.
5. Step-by-Step Royal Icing Piping Guide
- Preparation: Ensure your tools and royal icing are ready before starting.
- Outline: Trace the design onto the cake or cookie surface with a marker or edible marker.
- Pipe: Start at one side and work your way around, maintaining consistent pressure.
- Details: Add decorative elements like flowers, leaves, or borders using various piping tips.
- Finish: Smooth out any rough edges and let the royal icing set completely before moving on to decoration.
By mastering these royal icing piping techniques, you can elevate your cake and dessert decorations to new heights. Explore more detailed tutorials and inspiration on Tort Decor for additional tips and guides.
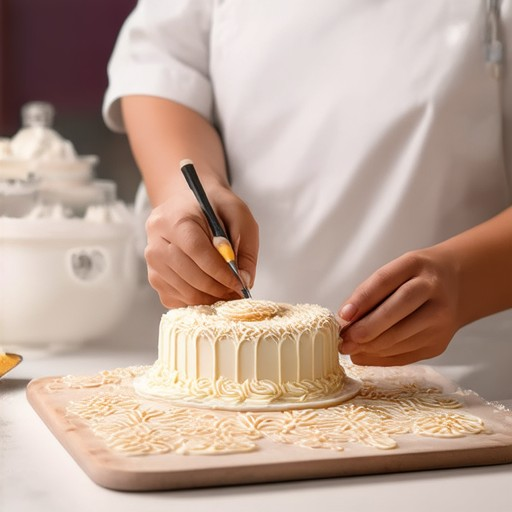
Best Royal Icing Piping Techniques
Mastering royal icing piping requires patience, practice, and the right techniques to achieve smooth, professional-looking decorations. Here are some of the most effective royal icing piping methods:
- Outlining Technique: Start by outlining the shape of your cake or cookie using a thin metal tool or a sharp knife. This creates a clean edge to fill with royal icing later.
- Filling the Bag: Hold the piping bag with the tip slightly wetted to prevent the icing from seeping through. Pipe a small amount of icing along the outline you created earlier, smoothing it with the tip of the bag.
- Flooding Technique: To create a smooth surface, flood the area with royal icing by moving the bag in circular motions until the area is evenly covered. Let it set before adding details.
- Leaf or Petal Technique: For decorative elements like leaves or petals, twist the bag at the end to create a thin line of icing. Move the tip in a zigzag pattern to form the desired design.
- Writing Technique: Use a steady hand to pipe letters or numbers by controlling the pressure and angle of the bag. Practice on parchment paper first to get the hang of it.
- Impression Technique: Press a textured object (like a flower cutter) onto the iced surface to transfer a design. Gently remove excess icing around the edges before it sets completely.
- Stringwork Technique: Create intricate designs by wrapping the icing around a toothpick or wire. This method allows for detailed patterns and borders.
To enhance your royal icing piping skills, visit our cake decorating tutorials section for step-by-step guides and video demonstrations. Explore our collection of royal icing recipes and learn how to achieve perfect consistency every time.
With these techniques and a bit of practice, you’ll be able to create stunning royal icing decorations that will impress anyone who sees your baked creations!



0 Comments