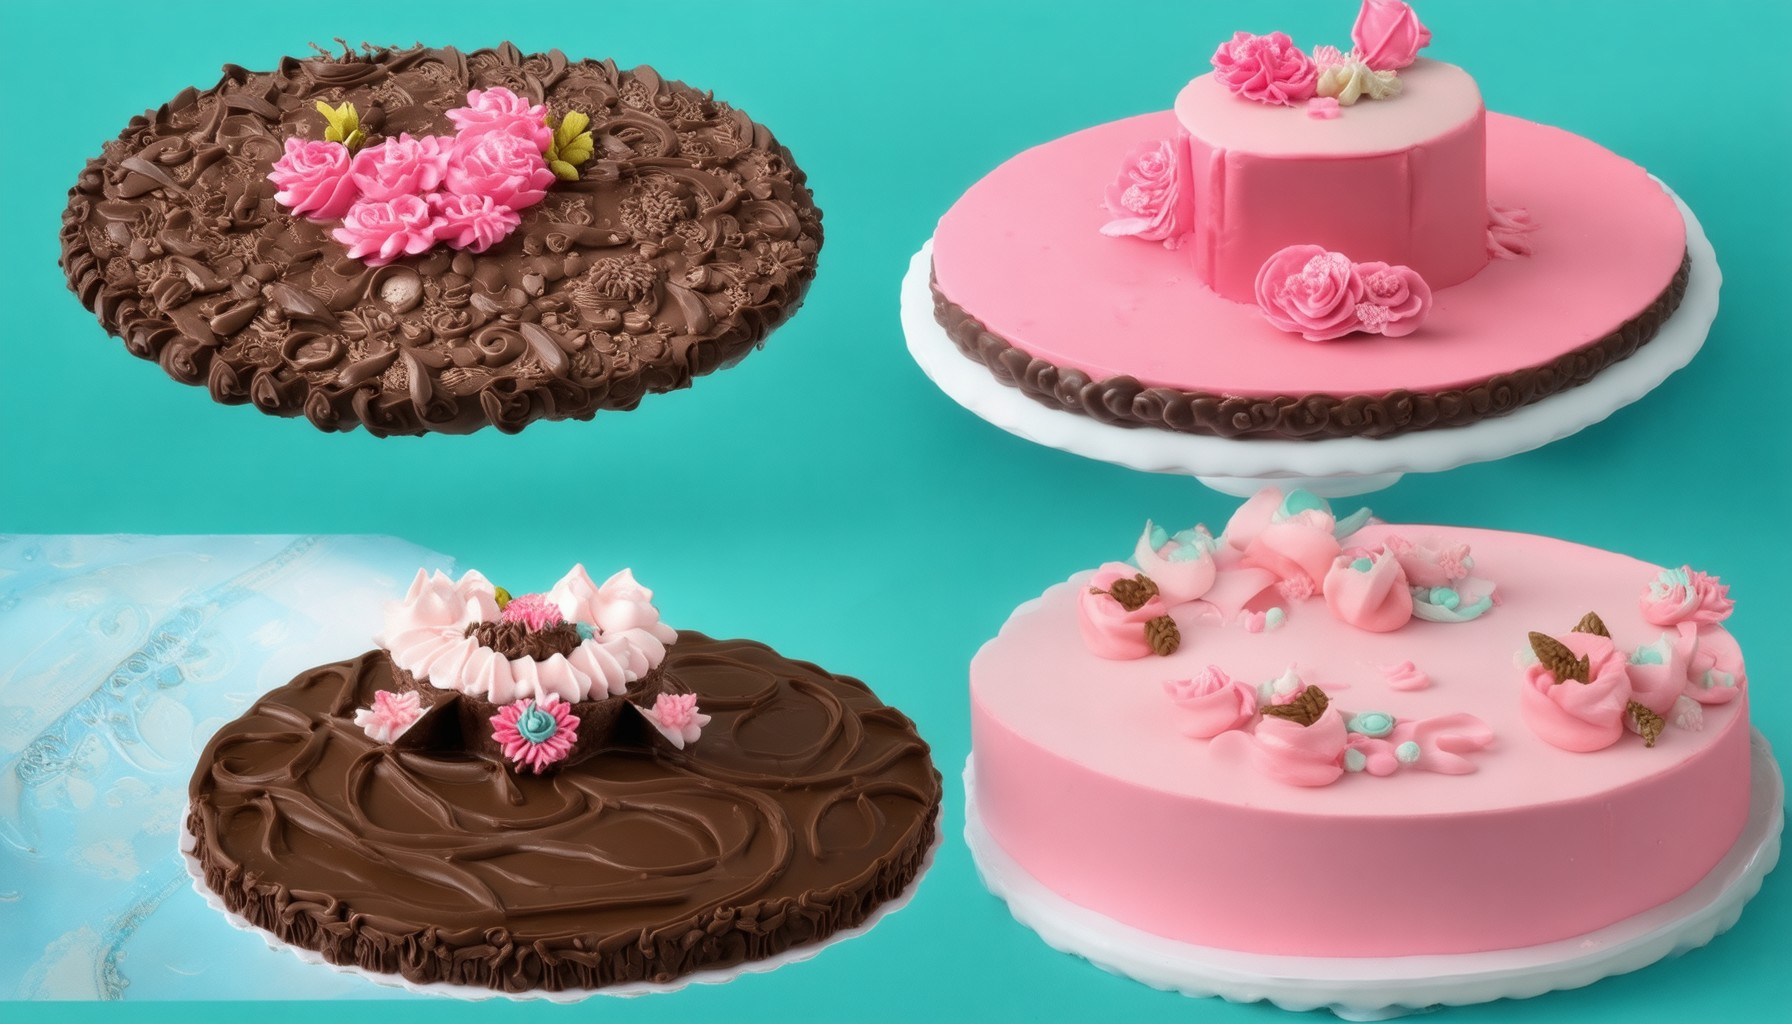
Elevating your cake decorating skills with modeling chocolate is a game-changer for any baker seeking to transform ordinary cakes into extraordinary works of art. Whether you’re a seasoned decorator or just beginning, this versatile medium offers endless possibilities for creating intricate designs, lifelike figures, and stunning decorations that stand out. From attaching it seamlessly to cakes to crafting delicate flowers, chocolates, and even custom characters, modeling chocolate opens up a world of creativity that goes beyond traditional decorating methods. Discover how this innovative material can revolutionize your baking projects, offering a unique texture and flexibility that makes every design come alive. With expert tips and practical guidance, this article dives into the best techniques, tools, and recipes for mastering cake decorating with modeling chocolate, ensuring your creations never fail to impress.
Key Takeaways
– Durable and Professional Finish: Modeling chocolate provides a smooth, long-lasting polish, perfect for elaborate designs.
– Easy to Shape and Mold: Its pliable texture allows for precise detailing, making it ideal for intricate designs.
– Customizable Colors and Shapes: You can dye it to match any theme and mold it into various shapes for creative versatility.
– Less Messy Than Fondant: Unlike fondant, it doesn’t melt easily, minimizing mess during application.
– Great for All Skill Levels: Suitable for both professionals and beginners, offering consistent performance and creative freedom.
– Versatile Techniques: From detailed designs to finishing touches, modeling chocolate offers versatile decorating methods.
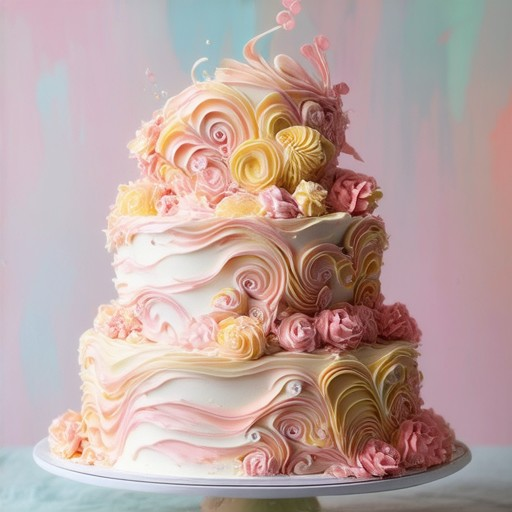
How to Attach Modeling Chocolate to Cake
To successfully attach modeling chocolate to your cake, follow these organized steps:
- Prepare the Cake Surface :
- Ensure the cake surface is smooth and free from crumbs or obstructions.
- Lightly dust the surface with powdered sugar to aid adhesion.
- Condition the Modeling Chocolate :
- Check if the modeling chocolate is firm enough for shaping. If it’s too soft, knead it gently to make it pliable.
- For extra firmness without hardening, refrigerate it briefly.
- Apply Water as Adhesive :
- Mist the cake surface with a fine spray of water using a small bottle or spritzer.
- Ensure the water is evenly distributed without saturating the surface.
- Attach the Modeling Chocolate :
- Roll out a portion of the modeling chocolate on a clean surface.
- Place the prepared piece over the cake and press gently with your fingers to secure it.
- Smooth out any air bubbles or uneven areas using a spatula.
- Detail and Set :
- Use a sharp tool to score decorative edges or patterns along the chocolate piece.
- Allow the chocolate to set and firm up on the cake for better adherence.
- Additional Attachments :
- For subsequent pieces, carefully melt a small amount of chocolate and apply water as needed.
- Work quickly to avoid disturbing the already secured pieces.
- Optional Tools and Tips :
- Consider using a palette knife for smoother application.
- Clean edges with a damp cloth to remove excess sugar for a polished look.
By following these steps, you can effectively attach modeling chocolate to your cake, creating stunning decorations that stay secure and look professional.
What Can I Do with Modeling Chocolate?
Modeling chocolate is a versatile and flexible material that can be used for a variety of creative projects. Here are some ways you can utilize it:
1. Cake Decoration
- Enhance your cakes with decorative pieces, borders, and figures.
- Create intricate designs that stand out, using molds or hand-shaped pieces.
2. Candy Making
- Shape it into small candies, chocolates, or truffles.
- Use it to make pull-apart candies or traditional chocolates.
3. Sculptures
- Create small sculptures or figurines for gifts, home decor, or themed events.
- Ideal for seasonal decorations like Easter eggs or Halloween pumpkins.
4. Cupcake and Cookie Decorations
- Add elegant touches to cupcakes, cookies, and pastries.
- Use it to make decorative pieces that complement your baked goods.
5. Table Settings
- Create centerpiece sculptures, table confetti, or decorative accents for events.
- Perfect for theme parties or special occasions.
6. Edible Art
- Create edible art pieces for personal enjoyment or gifts.
- Showcase your artistic skills with unique and tasty creations.
7. Home Decor
- Make decorative items like candle holders, vases, or wall art.
- Use it to customize your space with personalized designs.
8. Event Planning
- Design centerpieces, table settings, and thematic decorations for weddings, birthdays, or corporate events.
9. Educational Projects
- Use it in workshops or educational settings to teach students about chocolate-making and sculpture.
10. Personalized Gifts
- Mold custom pieces for friends, family, or colleagues, making thoughtful and lasting presents.
Tips for Working with Modeling Chocolate:
- Storage : Keep it in a cool, dry place in an airtight container.
- Safety : Supervise children when using and avoid large quantities.
- Tools : Use molds, warm surfaces, and molds to shape and smooth the chocolate.
- Colors : Customize with food dyes for themed projects.
- Texture : Typically chewy but can vary slightly depending on the brand.
Modeling chocolate offers endless possibilities for creativity and practicality, making it a valuable tool for various DIY projects.
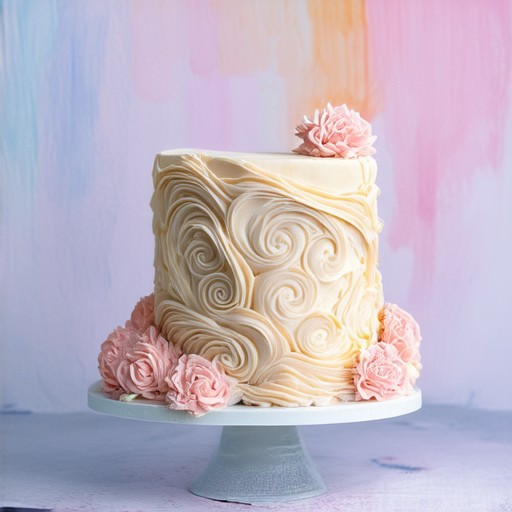
Does Modeling Chocolate Set Hard?
Modeling chocolate does indeed set hard over time. This characteristic is one of its unique advantages. If left uncovered or exposed to air, it will firm up significantly, making it harder to work with. This setting process occurs naturally due to the ingredients used in its formulation.
Why Does Modeling Chocolate Set Hard?
- Exposure to Air: Modeling chocolate absorbs moisture from the air, which causes it to set harder over time.
- Storage Conditions: Storing it in a dry environment can prevent it from setting too quickly, but prolonged exposure will still lead to hardening.
- Temperature: While it’s designed to set at room temperature, extreme heat or cold can accelerate or delay the hardening process.
How to Handle Hardened Modeling Chocolate
If your modeling chocolate has set too hard:1. Check our tips for working with hardened chocolate to learn how to melt and reuse it effectively.2. Consider adding a small amount of oil or butter to soften it slightly before sculpting.3. Work in small batches to maintain its pliable state for longer periods.
Remember, modeling chocolate’s ability to set hard makes it ideal for detailed designs and projects that require durability. With proper handling, you can still achieve stunning results even after it has hardened. Let your creativity guide you, and don’t be afraid to experiment with different techniques!
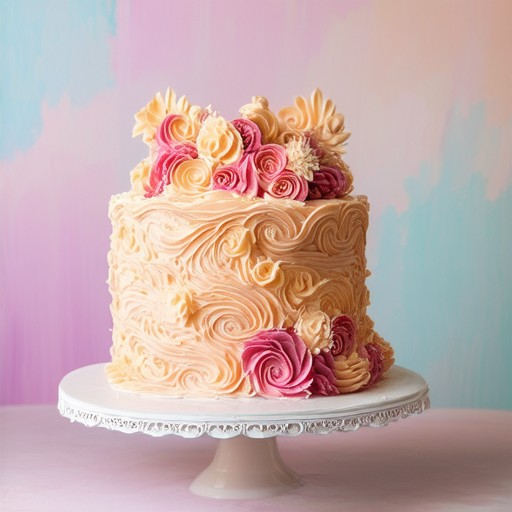
Can a Cake Covered in Modeling Chocolate Be Refrigerated?
To determine whether a cake covered in modeling chocolate can be refrigerated, consider the following:
- Chocolate Behavior:** Modeling chocolate, akin to candy coatings, may bloom under moisture or temperature changes, leading to a whitish layer. Blooming affects texture and appearance.
- Refrigeration Impact:** While some chocolates thrive in refrigeration, modeling chocolate, similar to fondant, may become sticky or break down due to fat separation or crystallization when refrigerated excessively.
- Temperature Considerations:** Most refrigerators operate between 32-40°F (-18°C to 4°C). If the environment is already cool, refrigeration may not be necessary. Excessive cooling could induce blooming or stickiness.
- Application Thickness:** Thin layers of modeling chocolate may not require refrigeration, whereas thicker applications might be more vulnerable to temperature-related issues.
- Chocolate Type:** Higher cocoa butter content in some chocolates makes them more susceptible to temperature changes, potentially affecting their stability when refrigerated.
- Manufacturer Guidelines:** Always consult the manufacturer’s instructions for specific storage recommendations, as they often provide the most reliable guidelines.
Conclusion: Refrigerating a cake with modeling chocolate can preserve freshness but may lead to blooming or texture issues. Opt for a cool, dry environment unless refrigeration is essential. Monitor the chocolate’s reaction if refrigeration is necessary.
Benefits of Using Modeling Chocolate for Cake Decoration
- Durable and Professional Finish: Modeling chocolate provides a smooth, polished look that lasts, making it ideal for elaborate designs and decorations.
- Easy to Shape and Mold: Its pliable texture allows for precise shaping and intricate details, enabling decorators to create complex designs effortlessly.
- Customizable Colors and Shapes: It can be dyed to match any color scheme and molded into various shapes, offering endless creative possibilities.
- Less Messy Than Fondant: Unlike traditional fondant, modeling chocolate doesn’t melt easily, reducing the risk of mess during application.
- Great for Both Professionals and Beginners: Its consistency and workability make it accessible to both experienced decorators and baking enthusiasts.
To explore more techniques and get inspired, visit our Tort Decor platform, where you’ll find tutorials, recipes, and tips to elevate your cake decorating skills.
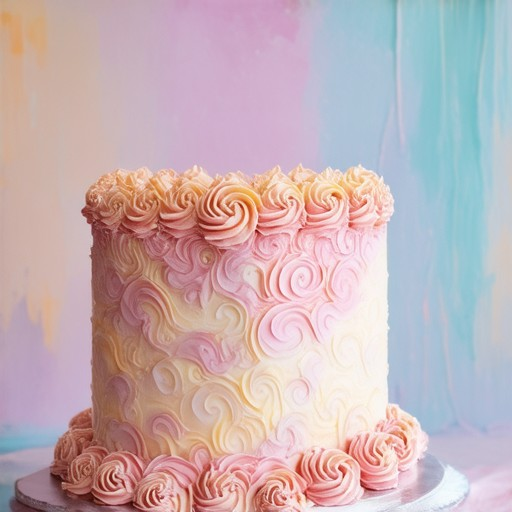
Best Techniques for Decorating a Cake with Modeling Chocolate
Decorating a cake with modeling chocolate can transform a simple dessert into a work of art. Here are some expert techniques to help you achieve professional-looking results:
- Preparation is Key : Start by ensuring your cake is properly prepared and leveled. A smooth surface ensures your modeling chocolate will adhere perfectly.
- Shape and Size**: Modeling chocolate can be molded into various shapes, flowers, or decorative elements. Consider the size of your cake and choose shapes that complement its dimensions.
- Detailed Designs**: Use a sharp knife or cookie cutters to create intricate designs. Add texture with patterns or imprint your cake with edible prints before applying the chocolate.
- Color and Blend**: Achieve a seamless look by blending colors. Use food-safe dyes or candy colorants to create custom hues. Apply colors in thin layers for a polished finish.
- Finishing Touches**: Enhance your creation with sugar flowers, edible glitter, or gold/silver leaf accents. These details add elegance and sophistication to your cake.
To master these techniques, explore resources from experts like Wilton and CandyCrafting . Their tutorials offer step-by-step guides tailored for beginners and advanced decorators alike.
Tort Decor provides comprehensive cake decorating tutorials and recipe ideas to inspire your creativity. Whether you’re working on a wedding cake or a birthday celebration, our guides have everything you need to succeed!
With practice and patience, you’ll soon be creating stunning cakes that wow your guests. Happy baking!

0 Comments