


Chocolate drip cakes have become a beloved treat for dessert enthusiasts worldwide, captivating audiences with their visually stunning and delicious appeal. Whether you’re planning a special occasion or simply craving a sweet indulgence, chocolate drip cakes offer a unique and elegant twist on traditional desserts. This article delves into the art of crafting perfect chocolate drip cakes, exploring the best chocolate options, techniques, and design ideas to create showstoppers that are as impressive as they are irresistible. From mastering the ideal chocolate type to discovering creative decoration methods, we’ll guide you through every step to achieve a dripping masterpiece. Whether you’re a seasoned baker or new to the world of chocolate art, this comprehensive guide ensures your drip cakes will impress everyone who tries them. Dive in and unlock the secrets to making chocolate drip cakes that are as beautiful as they are flavorful!
Key Takeaways
– Ganache is the secret to achieving a stunning chocolate drip effect.
– Heavy cream is essential for creating a smooth, drippy texture.
– Proper temperature control ensures your ganache flows perfectly.
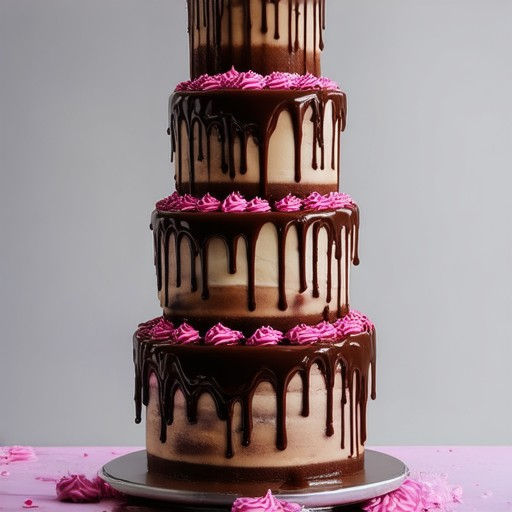
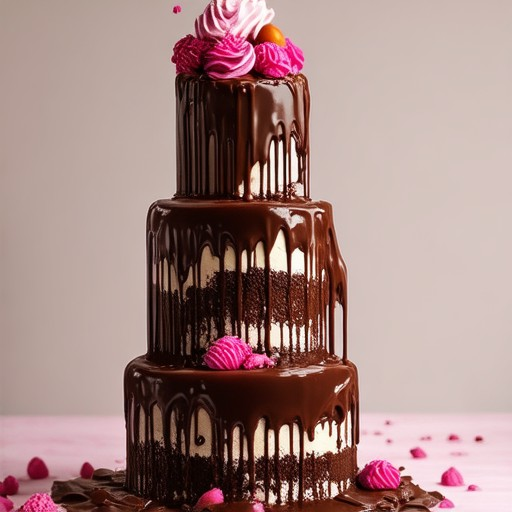
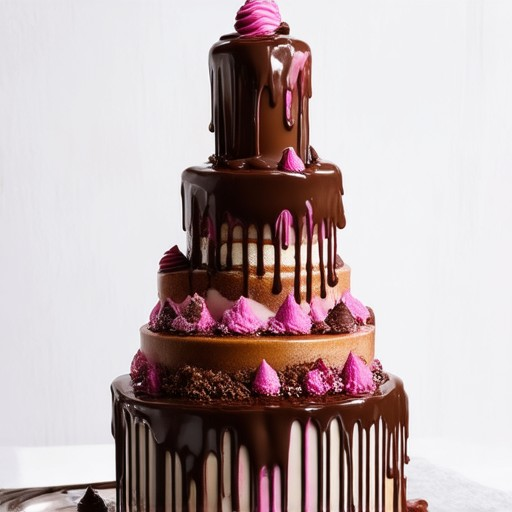
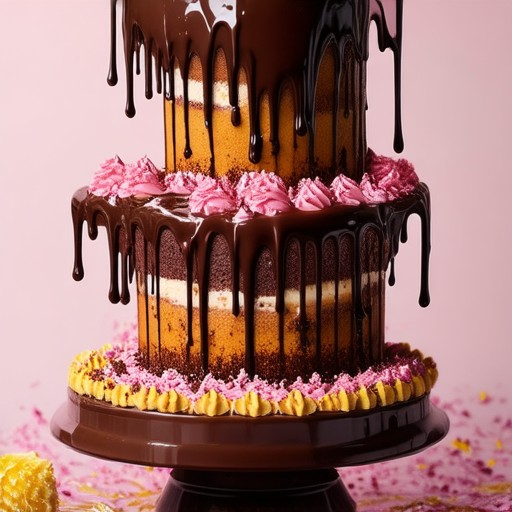
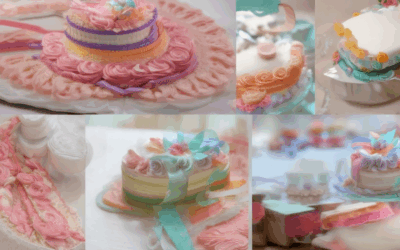
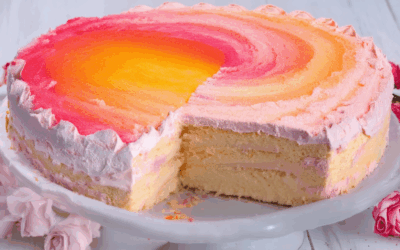
– Opt for a tall cake with straight edges to maximize the drip effect.
– Use tools like squeeze bottles for precise control over the ganache application.
– Mastering the right melting methods guarantees perfect chocolate drizzle.
– Elevate your cake with creative design ideas that enhance both taste and presentation.
Best Chocolate for Drip Cake
For creating the perfect chocolate drip effect on your cake, the choice of chocolate is crucial. Here’s a detailed guide to selecting and preparing the best chocolate for your drip cake:
1. Type of Chocolate
- Milk Chocolate : A popular choice for its creamy texture and sweet flavor. Ghirardelli milk chocolate chips are highly recommended due to their smooth melting properties.
- Dark Chocolate : Ideal for those preferring a richer, less sweet taste. Use a high-quality dark chocolate with a high cocoa percentage (70% or higher) for better flavor and texture.
2. Preparation Tips
- Ganache Preparation : Combine 200g of chocolate (milk or dark) with 150ml heavy cream. Heat the cream until simmering, then pour over the chocolate in a heatproof bowl. Stir until smooth and glossy.
- Consistency Adjustment : For dark chocolate, consider adding an extra tablespoon of heavy cream to achieve the desired viscosity.
3. Texture Enhancement
- Fine Chop or Shavings : For a smoother ganache, use finely chopped chocolate or shavings. This helps in achieving a shiny, non-seedy texture.
4. Temperature Control
- Melting Process : Ensure chocolate is melted at the correct temperature (around 30°C for dark chocolate and 28°C for milk chocolate) to prevent seizing and ensure a smooth mixture.
5. Tools Recommendation
- Double Boiler : Utilize a double boiler to maintain consistent temperature while melting chocolate, preventing scorching and ensuring a homogeneous mix.
By following these guidelines, you can achieve a professional-looking drip effect on your cake, whether you opt for milk or dark chocolate. Experiment with different chocolates and techniques to find your personal favorite!
Can I Use Melted Chocolate for a Drip Cake?
To achieve the perfect drip cake effect using melted chocolate, follow these steps for success:
Ingredients Needed:
- Unsweetened cocoa powder
- Butter
- Heavy cream
- Melted chocolate (your choice of type)
- Squeeze bottle or piping bag
Step-by-Step Guide:
- Melt the Chocolate: Use a double boiler to melt your chosen chocolate with a touch of butter. Stir continuously to avoid scorching.
- Adjust Consistency with Cream: Once melted, slowly stir in 2-3 tablespoons of heavy cream until smooth. This thins the chocolate, making it ideal for dripping.
- Apply the Drip Layer: Pour or pipe the chocolate onto your cake starting from the top edge, moving in a circular motion. This creates a smooth, even layer.
- Optional Second Coat: For a thicker drip effect, repeat the process, heating the remaining chocolate mixture slightly before applying. This ensures a robust layer without seizing.
- Experiment with Chocolate Types: Try using milk, dark, or white chocolate for varied textures and flavors. Candy melts or premelted chocolate can also work well for better flow.
- Store Properly: Keep your cake refrigerated and covered or under glass to prevent melting and maintain its glossy finish.
By adjusting the chocolate’s consistency and using the right techniques, you can create a stunning drip cake effect that’s both elegant and delicious!
What is the drip on a drip cake made of?
The drip on a drip cake is typically made using ganache , a rich, creamy mixture of chocolate and heavy cream. Ganache is known for its luscious texture and ability to create a shiny, drippy effect when poured over a cake. Here’s a closer look at what goes into it:
- Chocolate : Usually dark chocolate, often high cocoa content for a richer flavor.
- Heavy Cream : Provides the creaminess and fat necessary for the ganache’s smooth consistency.
- Butter (Optional) : Sometimes added to make the ganache even smoother and more fluid.
This combination creates a versatile ingredient that can be used for various decorative purposes, making it a staple in cake decorating.
What to Add to Chocolate to Make It Drip
To make chocolate drip elegantly, you can incorporate ganache , a creamy mixture typically made from chocolate and cream. Here’s a step-by-step guide:
- Ingredients :
- Dark, Milk, or White Chocolate : Choose your preferred type for flavor and texture.
- Heavy Cream or Double Cream : Essential for achieving a smooth, drippy texture.
- Optional Add-ins : Corn syrup for a longer drip duration or food coloring for vibrant visuals.
- Preparation :
- Melt your chosen chocolate and mix with heavy cream in a bowl.
- Heat the mixture gently until smooth and slightly runny for easy pouring.
- Application :
- Pour the ganache over the cake’s edges using a squeeze bottle or pipette.
- The drips will naturally flow over the sides due to gravity, creating a visually appealing effect.
- Considerations :
- Quantity : Use 2-3 tablespoons per serving to avoid overwhelming the dessert.
- Temperature : Ensure the ganache is warm but not boiling to maintain its fluidity.
- Cake Shape : Opt for a tall cake with straight edges for dramatic drips.
- Tools :
- Utilize tools like a squeeze bottle for precise control over the ganache application.
By following these steps, you can achieve a stunning dripping effect, enhancing both the taste and presentation of your chocolate desserts.
How to Make Simple Chocolate Drip
Creating a simple chocolate drip for your cake can elevate its appearance and taste. Here’s a step-by-step guide to making a delicious chocolate ganache:
- Ingredients:
- 8 oz semisweet chocolate chips
- 1/4 cup unsalted butter
- 1/2 cup heavy cream
- 1 tsp vanilla extract (optional)
- Tools:
- Double boiler or heavy-bottom saucepan
- Whisk or spatula
- Instructions:
- Gather Ingredients: Ensure all ingredients are ready and at room temperature.
- Heat Cream: In a small saucepan, heat the heavy cream until it reaches a gentle simmer, but do not boil.
- Melt Chocolate: In a double boiler, melt the chocolate chips over low heat, stirring occasionally to ensure even melting. Remove from heat once fully melted.
- Combine Ganache: Pour the warm heavy cream over the melted chocolate. Stir gently with a whisk until smooth and combined. Add vanilla extract if using, then mix thoroughly.
- Cool Ganache: Let the mixture cool slightly, stirring occasionally to prevent a skin from forming on the surface. Once thickened, it will have a pourable consistency.
- Apply to Cake: Pour the ganache over your prepared cake using a spatula for even distribution. Allow it to set and drip naturally off the edges for a beautiful effect.
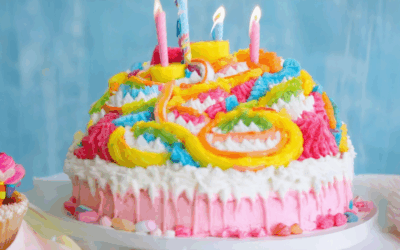
- Decorate if Desired: Enhance your creation with fresh berries, chopped nuts, or a dollop of whipped cream.
Pro Tip: For smoother ganache, ensure all ingredients are at room temperature. If the ganache becomes too thick, gently reheat and thin with additional cream.
Looking for more cake decorating inspiration? Explore our cake decorating tutorials and discover expert tips to take your desserts to the next level!
How to Melt Chocolate for Drizzle
To melt chocolate for drizzling, you have a few reliable methods. Here’s a step-by-step guide:
- Double Boiler Method
- Fill a small saucepan with water and bring it to a gentle simmer.
- Place a larger bowl over the saucepan, ensuring the bowl doesn’t touch the water.
- Add your chocolate pieces to the bowl and stir until melted, about 10 minutes.
- Microwave Method
- Place a microwave-safe bowl with chocolate chips on a lower-powered setting (30-50%) for 1-2 minutes.
- Stir and repeat until fully melted.
- Bain-Marie (Water Bath)
- Set up a bain-marie by placing a heatproof bowl over a pot of simmering water.
- Add chocolate to the bowl and stir until smooth.
Always use low heat to avoid burning the chocolate. Keeping the temperature between 85°F (29°C) and 90°F (32°C) ensures smooth melting.
By following these methods, you can easily melt chocolate for drizzling over desserts, candies, or other treats. Whether you prefer the traditional double boiler or a quicker microwave method, each technique delivers perfect results.
0 Comments