Cake decorating is a delightful way to elevate your baking creations, but achieving that perfect look can sometimes feel overwhelming. Whether you’re a seasoned baker or new to the craft, one tool that can transform your cakes into works of art is the sugar sheet. These versatile edible papers add a sweet touch to your desserts without the hassle of traditional fondant or buttercream. In this article, we’ll explore everything you need to know about sugar sheets, from their uses to creative ideas that will inspire your next project. If you’re ready to take your cake decorating skills to the next level, let’s dive in!
Key Takeaways
- Versatility: Sugar sheets offer diverse uses in cake decorating, from intricate cut-outs to vibrant transfers.
- Creativity: Transform cakes with unique designs, patterns, and 3D effects using sugar sheets.
- Ease of Use: Achieve professional-looking results with stencils, transfers, and edible decorations.
- Realistic Textures: Create lifelike finishes with textured sugar sheets for depth and dimension.
- Success Tips: Practice on dummy boards and invest in quality tools for precise, polished results.
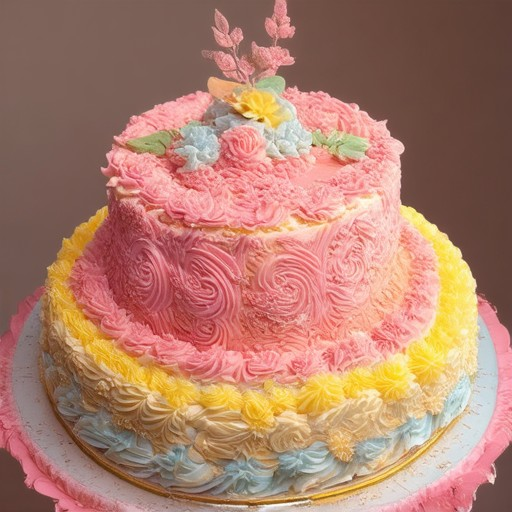
How to Use Sugar Sheets for Cake Decorating
To effectively use sugar sheets for cake decorating, follow these organized steps:
- Tools Needed: Specialized sugar sheet printers, scissors, or knives, and a clean workspace.
- Preparation: Ensure your cake is evenly leveled and smooth. Brush a thin layer of butter or a compatible adhesive onto the cake’s surface to facilitate sticking.
- Applying the Sugar Sheet: Lay the sugar sheet directly onto the prepared cake. Peel the backing carefully, working slowly to avoid tears. Allow it to adhere fully before proceeding.
- Setting: Let the sugar sheet set for approximately 15-20 minutes to harden and secure firmly on the cake.
- Designing Your Creation: Customize your sugar sheet with printed designs or handcrafted cutouts. Ensure details are sharp and colors vibrant for the best effect.
- Additions: Enhance your creation by adding fondant figures, piped icing, or edible glitter. Be gentle to avoid smudging the sugar sheet.
- Storage and Care: Store unused sugar sheets in an airtight container. Clean the cake surface with a damp cloth if residue remains after removal.
- Safety Tips: Keep away from direct heat sources. Allow the cake to cool completely before covering with the sugar sheet to prevent melting.
By following these steps, you can successfully transform your cake into a stunning work of art using sugar sheets. Consider exploring tutorials or videos for further inspiration and advanced techniques.
How Long Does a Sugar Sheet Last?
A sugar sheet typically has a shelf life of 6-12 months when stored properly. However, several factors can influence its longevity:
- Storage Conditions : Keep the sugar sheets in a cool, dry place away from moisture and heat. Ideal storage conditions are between 50°F and 70°F (10°C to 21°C).
- Air-Tight Packaging : Store them in air-tight containers or secure bags to prevent exposure to humidity and pests.
- Humidity Levels : High humidity can cause the sugar to clump and lose its shape, reducing its usability.
- Airtight Containers : Using airtight containers helps preserve the texture and extend the shelf life.
For best results, use the sugar sheets as needed and store them securely. They may not last as long if exposed to harsh conditions, so consider purchasing smaller quantities to maintain freshness.
If you’re looking for high-quality sugar sheets, visit Tort Decor for a variety of options tailored for cake decorators.
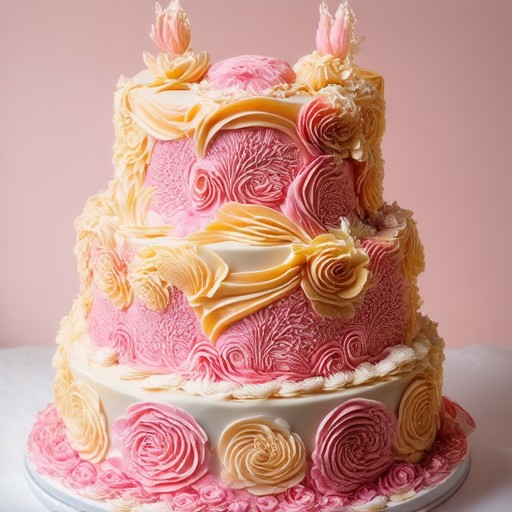
Frosting Sheet vs. Sugar Sheet: Understanding the Difference
Frosting sheets and sugar sheets are both popular in baking and candy-making, but they serve different purposes. Here’s a breakdown of their characteristics:
- Frosting Sheets: – Usage: Designed for decorating cookies, cupcakes, and other baked goods. – Composition: Typically made with sugar, corn syrup, and sometimes tapioca starch for adherence and flexibility. – Appearance: Available in various colors, patterns, and designs to match different occasions. – Application: Applied by placing over the baked good and letting it set, creating a decorative frosting effect.
- Sugar Sheets: – Usage: Used primarily for making candies, chocolates, or as a coating for sweets. – Composition: Often consists of sugar and may include other ingredients depending on the intended use. – Appearance: Usually plain or colored, but not typically printed like frosting sheets. – Application: Wrapped around candies or used to coat confections, requiring precise application due to their thin nature.
While both products are decorative and made with sugar, their primary uses and compositions distinguish them. Frosting sheets are ideal for cookie decoration, while sugar sheets are better suited for candy-making and confectionery applications.
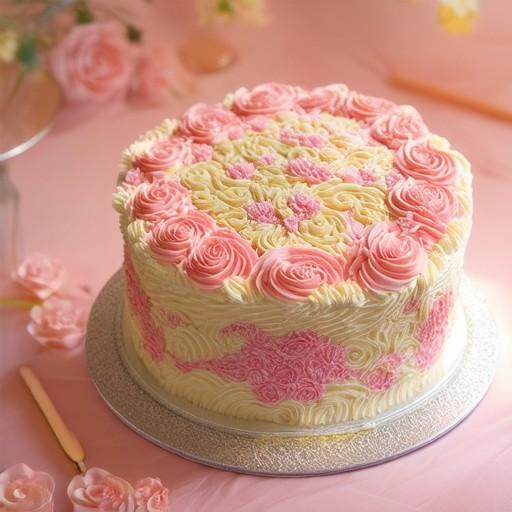
How to Decorate a Cake with Sugar
To create a beautifully decorated cake using sugar, follow these organized steps:
Ingredients and Tools Needed
- Sugar paste (fondant)
- Pastry brush
- Cake drum or serving plate
- Smoothing tool or spatula
- Decorator’s wire or Wilton tips
- Food coloring (gels, powders, or liquid)
- Glycerine or lemon juice (for softening fondant)
- Small bowls for coloring and mixing
Step-by-Step Guide
- Prepare the Cake:** Ensure your cake is fully cooled before applying the sugar paste. This prevents the fondant from sliding off or melting.
- Firm Up the Fondant:** If your sugar paste is too soft, mix in a small amount of glycerine or lemon juice until it reaches the desired consistency. This makes it easier to smooth over the cake.
- Apply the Fondant:** Using a pastry brush, spread a thin layer of fondant evenly over the cake. Let it set slightly before proceeding to ensure it adheres well.
- Add Details:**
- Use a decorator’s wire or Wilton tips to create patterns or designs along the edges of the cake.
- Melt colored sugar in a pan and dip the tips into the melted sugar to create intricate details like flowers, leaves, or geometric shapes.
- For more realism, pipe small amounts of colored sugar onto the wire and pull it through to create thin strands that can be shaped into roses, vines, or other decorative elements.
- Smooth and Finish:** Gently smooth the fondant with a spatula or use the smoothing tool to create a seamless look. Ensure all edges are neatly defined and free from gaps.
- Add Final Touches:** Enhance your design by adding edible glitter, sprinkles, or candy decorations around the base or along key design elements.
Professional Tips
- Practice on a practice board before decorating the actual cake to perfect your technique.
- Work in a cool room to prevent the fondant from becoming too sticky or melting.
- Always store the cake in a cool place to maintain its shape and shine.
- Consider using food-safe dyes for vibrant colors and ensure they are mixed thoroughly for even coverage.
Conclusion
Decorating a cake with sugar paste requires patience and attention to detail, but the result is undeniably stunning. With the right tools and techniques, you can create a showstopper that will impress anyone who sees it!
How Can Sugar Sheets Be Used Creatively for Cake Decorating?
Sugar sheets are a versatile medium for cake decorating, offering endless creative possibilities. Here are some innovative ways to use them:
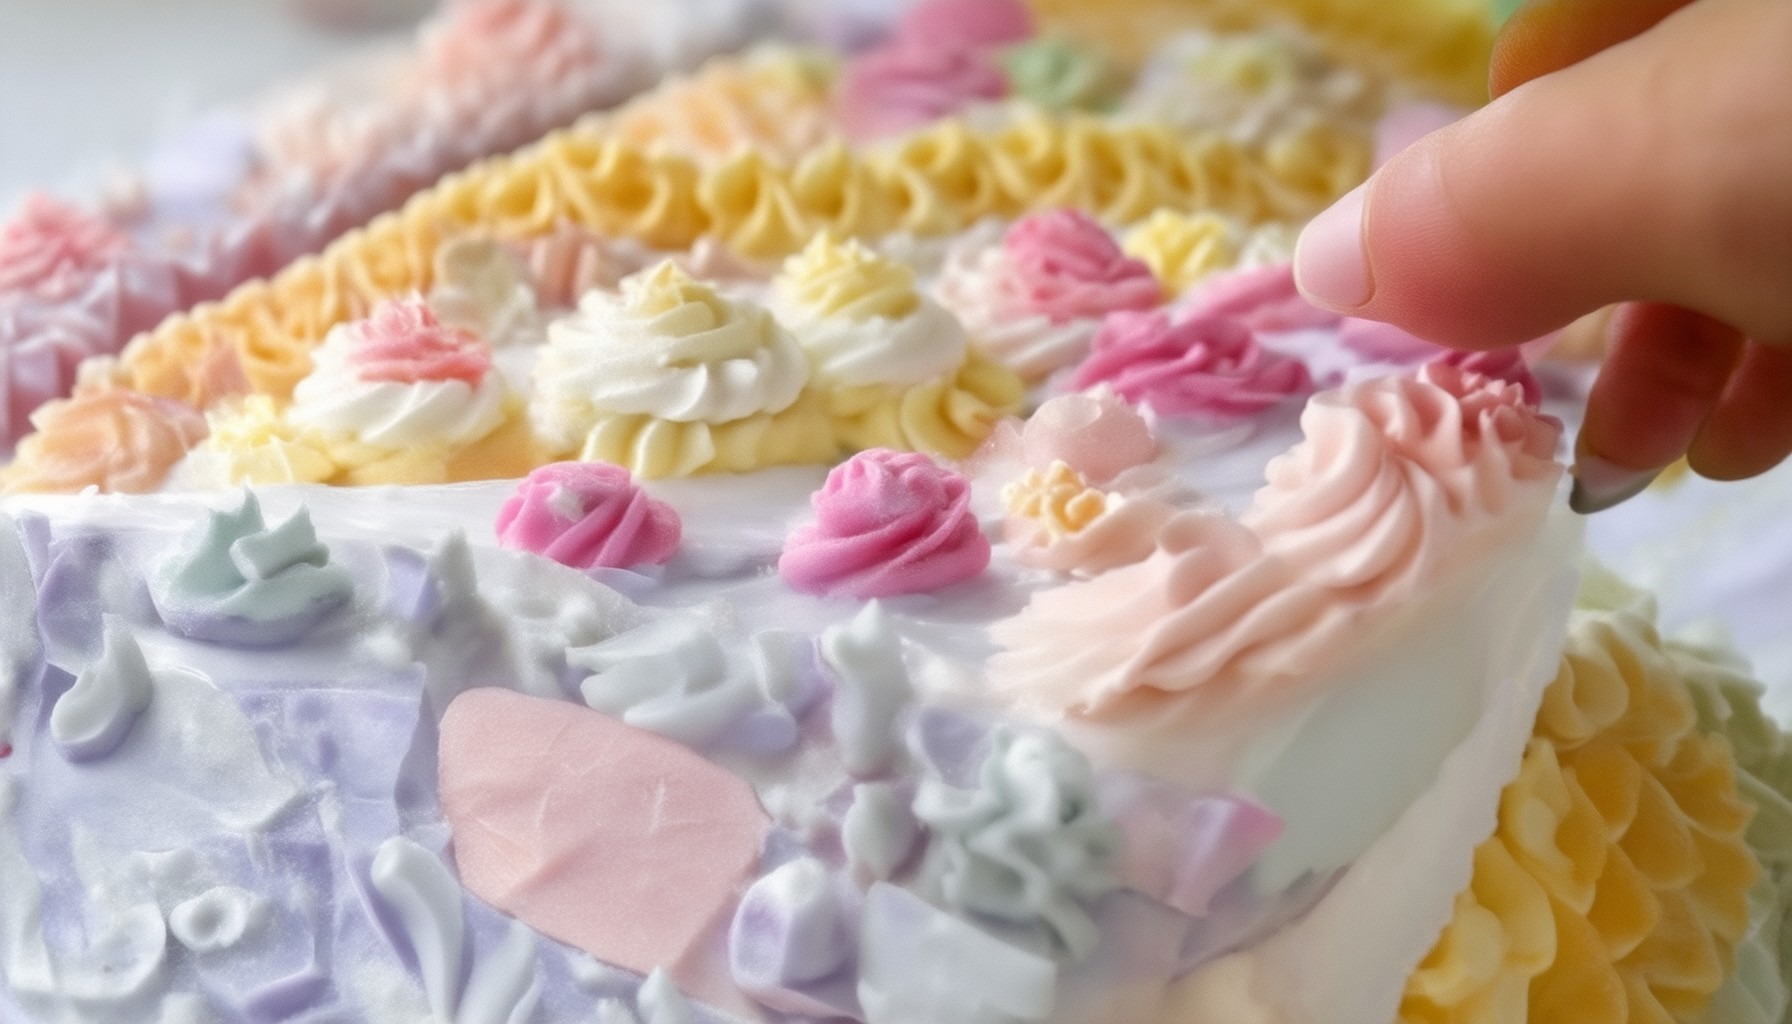
- Creative Cut-Outs:** Use sugar sheets to create intricate shapes, flowers, or designs that can be applied to your cake. Cut out your desired shapes using scissors or cookie cutters and place them on frosted cupcakes or cakes for a decorative touch.
- Vibrant Transfers:** Apply colored sugar sheets to your cake using heat or pressure to transfer the design onto the frosting. This method works well for creating sharp, detailed images or patterns.
- Layered Designs:** Stack multiple layers of sugar sheets to create dimension and depth in your cake decorations. This technique is particularly effective for creating realistic textures or 3D effects.
- Edible Decorations:** Dust sugar sheets with powdered sugar to create edible decorations like snowflakes, stars, or other festive shapes. These can be sprinkled on top of cakes or used as a finishing touch for cupcakes.
- Fondant Combinations:** Mix sugar sheets with fondant to create pliable clay-like dough that can be shaped into molds or used to cover portions of your cake for a smooth, polished appearance.
- Stenciling:** Use sugar sheets as stencils to paint designs directly onto your cake. Apply edible ink or dust with powdered sugar to create beautiful, temporary art pieces that can be removed and reused.
With these creative ideas, you can transform your cakes into stunning works of art using sugar sheets. Experiment with different colors, textures, and techniques to discover your own unique style!
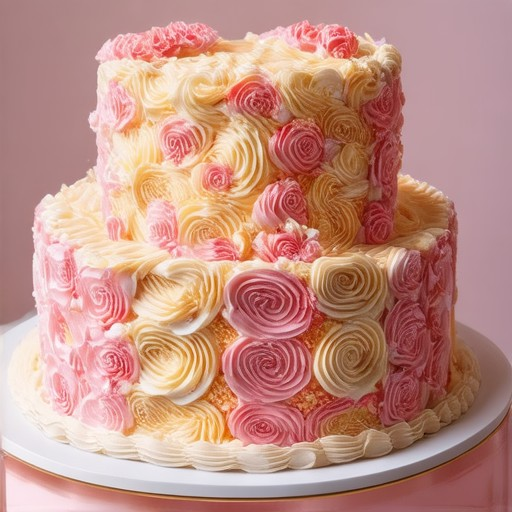
Transform Your Cake Decorating with Sugar Sheets
Sugar sheets, those versatile edible decorations made from icing or fondant, open up endless possibilities for cake decorating. Here are some innovative ideas to inspire your next creation:
- Geometric Patterns: Use cookie cutters or stencil sets to create intricate geometric shapes. Apply edible ink or paint to sugar sheets before placing them on your cake for a modern, mathematical aesthetic.
- 3D Effects:** Incorporate textured pastes or powders to give sugar sheets a three-dimensional feel. This adds depth and realism to your designs, making them stand out on any cake.
- Edible Stencil Art: Design custom stencils using freehand drawing or digital tools. Apply edible ink to sugar sheets and place them over frosted cakes for a unique, artistic touch.
- Marbleized Designs: Combine contrasting colors and patterns to create a marble effect. Use gradient colors or alternating textures for a sophisticated look that mimics polished marble.
- Holiday-Themed Creations: Seasonal designs like Santa hats, Easter eggs, or Valentine hearts can be crafted using sugar sheets. Add details with edible glitter or colored sugars for extra flair.
- Custom Monograms: Personalize cakes by applying sugar sheets with names or initials. Use gold or silver edible ink for elegant, easy-to-read monograms that complement any occasion.
- Naturalistic Textures: Mimic natural elements like grass, wood grain, or stone using textured sugar sheets. These can be layered over smooth frosting for a realistic finish.
- Photo-Inspired Designs: Create photo-like transfers by painting scenes or objects onto sugar sheets. Use edible dyes to match colors and add shading for a lifelike effect.
- Multi-Tiered Masterpieces: Use sugar sheets to connect different tiers of a multi-level cake. Customize each tier with its own design, creating a visually stunning centerpiece.
- Negative Space Art: Carve out shapes or letters using a knife or cutter, then fill the negative space with colored sugar sheets. This technique creates striking, abstract designs.
Tips for Success:
- Practice on Dummy Boards: Test your designs on cardboard or parchment before applying them to cakes to ensure precision.
- Use High-Quality Tools: Invest in professional-grade cutters and stencils for crisp, clean results. Consider brands like Wilton or PME for quality tools.
- Refer to Tutorials: Check out Tort Decor’s tutorial library for step-by-step guides on working with sugar sheets.
With these innovative ideas, you can take your cake decorating skills to the next level. Experiment with textures, colors, and unique shapes to create unforgettable designs that wow your audience!


0 Comments