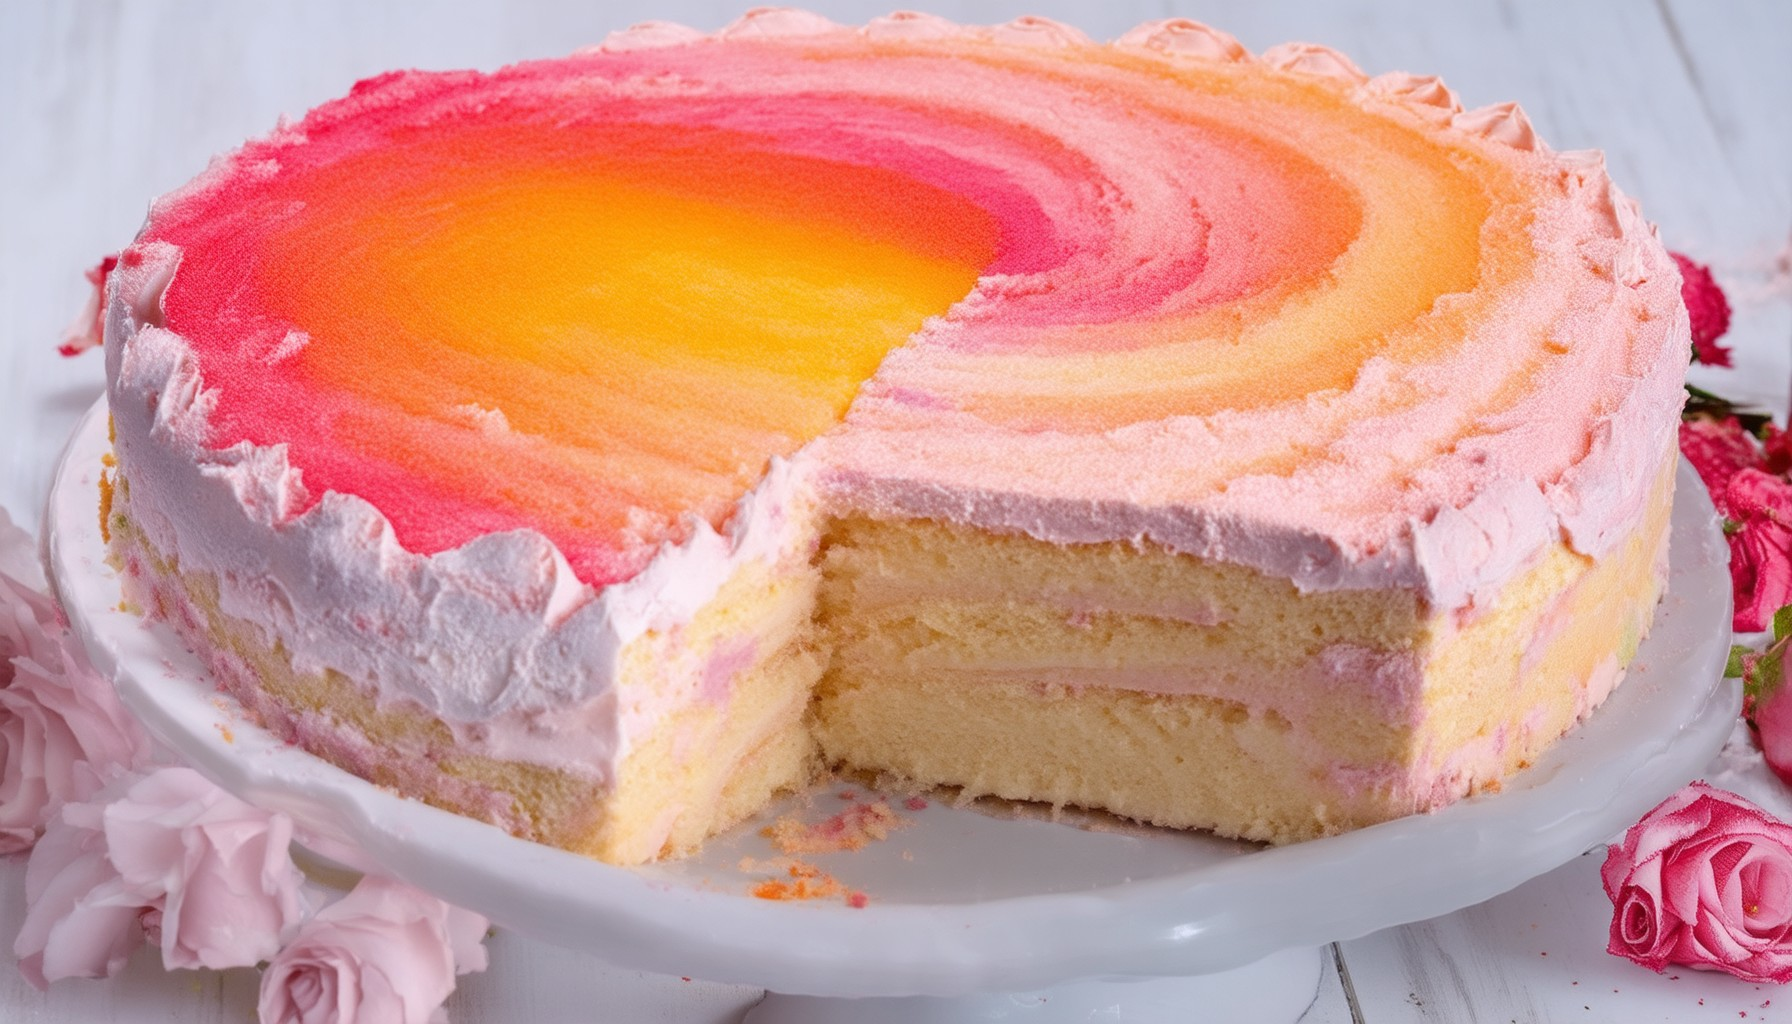
Creating a stunning ombre cake can elevate your baking skills to new heights, turning ordinary desserts into extraordinary works of art. Whether you’re preparing for a wedding, a birthday celebration, or simply experimenting in the kitchen, mastering the ombre effect offers a versatile way to add depth and visual appeal to your creations. From elegant chocolate ombre cakes to pastel-hued treats, the possibilities are endless. In this comprehensive guide, we’ll walk you through everything you need to know, from creating the perfect ombre effect to crafting decorative icing and frostings. Discover how to make ombre cakes for various occasions, explore expert tips for achieving smooth transitions, and learn how to incorporate this trendy technique into your baking repertoire. With our detailed insights, you’ll be able to create ombre masterpieces that are as beautiful as they are delicious.
Creating an ombre cake is a delightful project that combines baking with artistic expression. Here’s a structured approach to achieving a stunning gradient cake:
Ingredients:
- For the Cake: All-purpose flour, sugar, unsalted butter, whole eggs, milk, vanilla extract, baking powder, and salt.
- For Coloring: Natural cocoa powder, liquid food coloring (gel or powder), and optional natural dyes like beetroot for vibrant colors.
Tools Needed:
- Three 9-inch round cake pans
- Parchment paper
- Greaseproof paper or silicone mats
- Electric mixer or whisk
- Fork or spatula for swirling
- Cake decorators or piping tools (optional)
Step-by-Step Instructions:
- Prepare the Cake Batters:
- Divide the cake batter into 3-4 portions. Start with a plain vanilla batter, then add cocoa powder or food coloring to each subsequent layer, increasing the amount for deeper colors.
- Layer the Batter:
- Pour the darkest batter into a prepared cake pan. Use a cake spacer to create a barrier, then carefully pour the next lighter shade over it. Repeat until all batters are layered.
- Bake the Cake:
- Bake at 350°F until a toothpick inserted into the center emerges clean, approximately 30-40 minutes. Allow the cake to cool slightly before removing it from the pan.
- Cool Completely:
- Let the cake cool in the pan for about 2 hours to prevent breaking when removing.
- Make the Frosting:
- Prepare a gradient buttercream by mixing cocoa powder or natural dyes into your buttercream, transitioning from darker to lighter tones.
- Apply the Frosting:
- Using a spatula or piping tip, spread the frosting over the cooled cake, starting from the bottom layer and moving upward to blend the colors smoothly.
- Enhance with Decorations:
- Add edible glitter or sprinkles for extra sparkle without altering the taste.
- Serve and Store:
- Refrigerate the cake for up to 3 days. For longer storage, individually freeze each layer after frosting. Thaw in the refrigerator before serving.
Tips:
- Natural Colors: Experiment with natural dyes for vibrant, healthier colors.
- Practice First: Test the method with a small batch to refine your technique.
- Flavor Balance: Use minimal coloring to maintain a pleasant taste.
By following these steps, you’ll create a gradient cake that’s visually captivating and delicious!
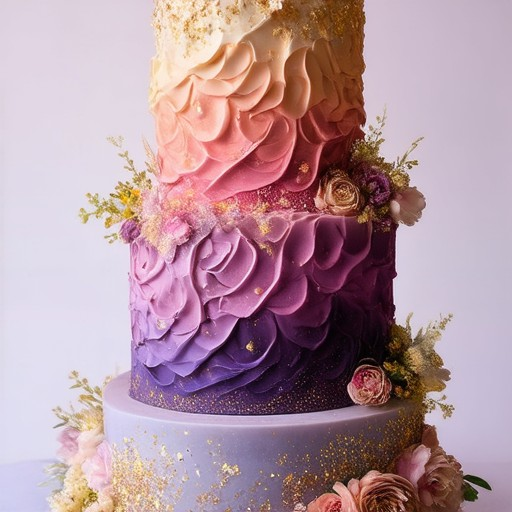
How to Create an Ombre Effect on Cake
To achieve an ombre effect on your cake, follow these organized steps for a stunning visual impact:
- Cake Preparation :
- Begin with a basic vanilla cake recipe known for its moisture and texture. Ensure the cake is properly baked and cooled to prevent the frosting from slipping off.
- Frosting Recipe :
- Prepare a rich buttercream consisting of:
- 250g unsalted butter, softened
- 200g powdered sugar
- 50ml milk
- 5ml vanilla extract
- Coloring the Frosting :
- Use food coloring gels for their vibrant colors and thick consistency.
- Start with a light pastel shade and progressively use darker hues for each layer.
- Blend colors using a toothpick on the side of the bowl to create a gradient effect.
- Application Technique :
- Begin with the lightest color on the top layer.
- For each subsequent layer, apply a slightly darker shade, ensuring smooth transitions.
- Use a spatula to spread uniformly and a toothpick to blend edges.
- Chill the cake briefly after each layer to set the frosting.
- Finishing Touches :
- Pipe a neat border around the edges using a round tip for a polished look.
- Optionally, dust with edible glitter or sprinkle with colored sugar.
- Garnish with fresh berries for added color and freshness.
- Tools Needed :
- Mixing bowls
- Electric mixer
- Spatula
- Toothpick
- Piping bag and round tip
- Bench scraper
By methodically applying each color layer and blending smoothly, you’ll achieve a captivating ombre effect that elevates your cake’s aesthetic appeal.
How to Do Ombre Buttercream Piping
To achieve the perfect ombre effect with your buttercream piping, follow these simple yet effective techniques:
- Method 1: Pressure Control
- Start by holding your piping bag at a 45-degree angle, ensuring the tip is pointed downwards.
- Gently squeeze the bag, releasing pressure evenly as you move the tip in a circular motion around the surface.
- As you work your way around, gradually reduce the pressure to create a gradient effect.
- For a smoother transition, adjust the angle of your bag slightly as you move from light to dark shades.
- Method 2: Layering Technique
- Apply a base color to your canvas using a flat tip or coupler.
- Add layers of contrasting colors by overlapping the tip at varying heights and angles.
- Use the heat of the room to blend the colors naturally, allowing the buttercream to meld together seamlessly.
- Finish by smoothing out any edges with a damp brush or your finger.
- Method 3: Wilton Tip Manipulation
- Insert a Wilton tip into your piping bag and twist it gently to secure the tip in place.
- Hold the bag at a slight angle and begin piping in a spiral pattern, gradually increasing the pressure.
- Flip the bag to the opposite side and continue piping, creating a symmetrical ombre effect.
- Experiment with different tip positions and angles to achieve your desired gradient.
- Tip: Practice Makes Perfect
- Practice on scrap paper or a non-frosting surface to master the technique before applying it to your actual project.
- Consider watching tutorial videos or consulting professional guides for additional tips and tricks.
By combining these methods, you can easily create stunning ombre buttercream designs that will elevate your baked goods to new artistic heights!
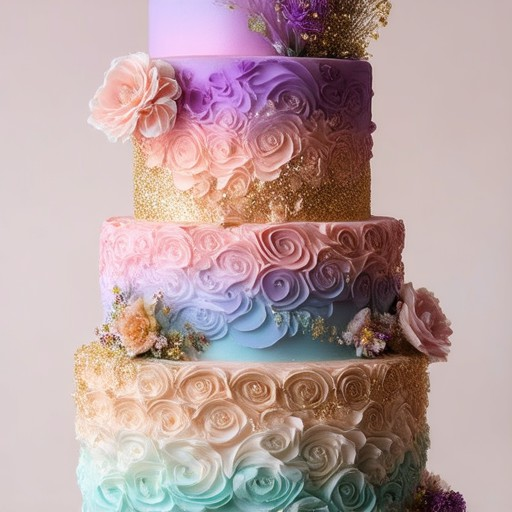
How to Create Gradient Frosting
Creating a gradient effect with frosting can elevate your baked goods to a whole new level. Below is a step-by-step guide to achieving a smooth and visually appealing gradient finish.
Tools and Ingredients
- Pastry Bag: Use a large pastry bag fitted with a round tip for controlled application.
- Frosting Colors: Choose a set of edible food colors that complement each other. Consider using gel colors for better consistency.
- Tipless Spoons: These allow precise control over the amount of frosting applied.
- Mixing Bowls: Use small bowls to mix your colors and achieve the desired gradient effect.
Step-by-Step Guide
- Preparation: Start with your base color. For instance, begin with red and gradually introduce smaller amounts of the next color in your palette.
- Mixing Colors: Add a small amount of the next color to your current frosting batch. The ratio should be about 20-25% of the total volume to create a subtle transition.
- Layer Application: Using your pastry bag or spoon, apply a thin layer of the mixed frosting onto your cake or dessert. Work in circular motions to create a smooth transition.
- Add Depth: Continue this process, adding incremental amounts of the next color until you achieve the desired gradient effect. Each layer should blend seamlessly into the previous one.
- Smooth Out: Use your spatula or the flat side of a knife to smooth out any visible lines or streaks. This ensures a professional finish.
Troubleshooting Tips
- If the gradient appears too harsh, reduce the percentage of the darker colors in your mixture.
- For a softer look, consider using fewer color layers and focusing on a gradual shift.
- Practice on a test surface before applying to your final product to perfect your technique.
Additional Tips
- Let the frosting dry slightly between layers to prevent bleeding.
- Experiment with temperature: cooler temperatures can help maintain the shape of your gradient layers.
- Consider using edible glitter or shimmer dust for an extra touch of elegance.
By following these steps and tips, you can master the art of creating gradient frosting and elevate your baking creations to new heights. For more detailed guides and inspiration, visit our Tutorials Section or explore our Recipe Collection . Don’t forget to check out our Tool Guides for essential equipment recommendations.
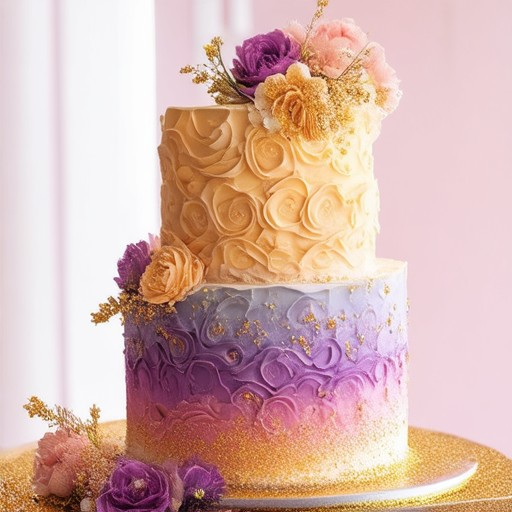
How to Create an Ombre Effect with Acrylic Paint
- Preparation:
- Clean your canvas thoroughly before starting.
- Apply a base coat of primer to ensure better adhesion of the acrylic paint.
- Mix your primary colors according to the desired gradient effect. Darker shades should be mixed first to maintain opacity.
- Layering Technique:
- Start by applying the lightest shade in the center of the canvas, gradually moving towards the edges.
- Use a clean brush to blend the edges where two colors meet, creating a soft transition.
- Add more layers to build depth and dimension. Each subsequent layer should be slightly darker than the previous one.
- Finishing Touches:
- Once satisfied with the gradient, protect the artwork with a clear acrylic sealant to prevent fading and yellowing.
- Clean your tools immediately after use to avoid residue buildup.
- Additional Tips:
- Consider using Gesso as a base coat to create a smooth surface for easier blending.
- Work in a well-ventilated area to avoid fumes from the paint.
- Experiment with different techniques to achieve unique textures and effects.
How to Create an Ombre Cake Step-by-Step
Creating an ombre cake involves creating layers with varying shades of color, resulting in a gradient effect when stacked. Here’s a detailed guide to crafting your own:
Ingredients
- 1 ½ cups all-purpose flour
- 1 cup granulated sugar
- 1 teaspoon baking powder
- ½ teaspoon salt
- ¾ cup unsalted butter, softened
- ¼ cup whole milk
- 2 large eggs
- 1 tablespoon vanilla extract
- Optional: Cocoa powder or melted dark chocolate for coloring
Tools Needed
- Three 9-inch round cake pans
- Parchment paper
- Greaseproof paper or silicone mats
- Electric mixer or whisk
- Fork or spatula for swirling
- Cake decorators or piping tools (optional)
Instructions
- Preheat Oven: Preheat your oven to 350°F (175°C). Grease three 9-inch round cake pans or line them with parchment paper and grease with butter.
- Prepare Batters: Separate the batter into three different colors. Start with a plain vanilla batter, then add cocoa powder or melted chocolate to each subsequent layer for deeper colors. For example, use ¼ cup cocoa powder for the second layer and ½ cup for the third.
- Combine Dry Ingredients: In a large bowl, whisk together flour, sugar, salt, and baking powder. In another bowl, beat together butter, milk, eggs, and vanilla until smooth. Gradually pour the wet ingredients into the dry ingredients, mixing until just combined. Avoid overmixing to prevent a dense texture.
- Add Coloring: Slowly stir in the cocoa powder or melted chocolate into the batter. For a gradient effect, add less cocoa to the first layer and more to the last. Mix until uniformly colored.
- Divide and Pour: Divide the batter into three equal portions. Pour each portion into a prepared pan, swirling with a fork or spatula to create a subtle marble effect. Repeat for each layer, ensuring even distribution.
- Bake Layers: Bake for 25-30 minutes. Check with a toothpick at 25 minutes; if it comes out clean, the cake is done. Cover the top loosely with foil to prevent overbrowning. Remove from the oven and let cool in the pans for 10 minutes before transferring to wire racks to cool completely.
- Stack and Assemble: Once cooled, place each layer on a plate or rack, using parchment paper between layers to prevent sticking. Stack them carefully, ensuring the colors align for the full ombre effect.
- Frost and Decorate: Spread a thick layer of buttercream between each layer and on the top. Pipe decorative details from the bottom to the top for a polished look. Consider adding edible decorations or fresh berries for extra flair.
- Serve and Store: Refrigerate the cake for up to 3 days. For longer storage, individually freeze each layer after frosting. Thaw in the refrigerator before serving.
By following these steps, you can create a stunning ombre cake that’s as visually appealing as it is delicious!
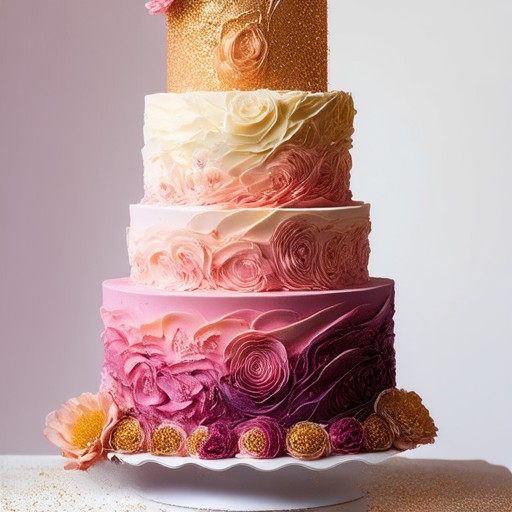
How to Create an Ombre Effect on a Cake
To achieve an ombre effect on your cake, follow these organized steps for a stunning gradient dessert:
Ingredients:
- For the Cake: All-purpose flour, sugar, unsalted butter, whole eggs, milk, vanilla extract, baking powder, and salt.
- For Coloring: Natural cocoa powder, liquid food coloring (gel or powder), and optional natural dye extracts like beetroot for vibrant colors.
Tools Needed:
- Large cake pan (9×13 inches)
- Plastic cake spacer or tall cake tin
- Toothpick or offset spatula
- Piping tips or spatula for frosting application
Step-by-Step Instructions:
- Prepare the Cake Batters:
- Divide your cake batter into 3-4 portions, each mixed with increasing amounts of cocoa powder or food coloring. Start with the darkest color and progress to lighter shades.
- Layer the Batter:
- Pour the darkest batter into the prepared cake pan. Use the cake spacer to create a barrier, then carefully pour the next lighter shade over it. Repeat until all batters are layered.
- Bake the Cake:
- Bake at 350°F until a toothpick inserted into the center emerges clean, approximately 30-40 minutes. Allow the cake to cool slightly before removing it from the pan.
- Cool Completely:
- Let the cake cool in the pan for about 2 hours to prevent breaking when removing.
- Make the Frosting:
- Prepare a gradient buttercream by mixing cocoa powder or natural dyes into your buttercream, transitioning from darker to lighter tones.
- Apply the Frosting:
- Using a spatula or piping tip, spread the frosting over the cooled cake, starting from the bottom layer and moving upward to blend the colors smoothly.
- Enhance with Decorations:
- Add edible glitter or sprinkles for extra sparkle without altering the taste.
Tips:
- Natural Colors: Experiment with natural dyes for vibrant, healthier colors.
- Practice First: Test the method with a small batch to refine your technique.
- Flavor Balance: Use minimal coloring to maintain a pleasant taste.
By following these steps, you’ll achieve a gradient cake that’s visually captivating and delicious!

0 Comments