


Sugar sculpture cake toppers have emerged as a captivating way to elevate dessert presentations, transforming simple cakes into visually stunning masterpieces. These delicate ornaments, crafted from sugar, offer a unique blend of artistic expression and practicality, making them a popular choice for both amateur bakers and professional chefs alike. As demand for elaborate desserts grows, so does the desire for customizable and durable sugar art that enhances both aesthetics and taste. Whether for weddings, birthdays, or special events, sugar sculpture cake toppers provide a versatile solution to add elegance and personality to your desserts. In this guide, we explore everything you need to know about sugar art cake toppers, from designing intricate sugar figures to ensuring they stay fresh and intact. Discover the secrets to creating show-stopping sugar sculptures that will leave your audience in awe, along with expert tips on selecting the right tools, techniques, and materials to achieve professional-looking results. With the right approach, sugar deko can become a cornerstone of your baking repertoire, offering endless creative possibilities and lasting beauty.
Key Takeaways
– Effective Sugar Melting Techniques: Learn how to melt sugar for decorations by preheating your oven, using the right pan, and carefully monitoring the cooking time to achieve a smooth, golden melt.
– Showstopping Sugar Sculpture Ideas: Elevate your cakes with nature-inspired, geometric, abstract, or personalized designs, offering endless creative possibilities.
– Practical Tips for Success: Enhance your sugar sculptures with touches of butter or vanilla, store leftovers properly, and know when to remelt crystallized sugar for a seamless experience.
Sugar Sculptures Last: Key Considerations
Sugar sculptures and decorative sugar pieces typically last several months when stored correctly. Their longevity depends on various factors:
- Type of Sugar: – Granulated Sugar (Table Sugar): Generally lasts longer due to smaller grain size and reduced surface area. – Powdered Sugar: May spoil faster as it absorbs moisture more easily.
- Storage Conditions: – Keep in a cool, dry place (ideally below 70°F or 21°C). – Store in an airtight container to prevent moisture absorption. – Consider refrigeration if exposed to high humidity.
- Exposure to Light: – Store away from direct sunlight to avoid color fading and off-flavors.
- Usage Frequency: – Decorative uses may allow for slightly longer storage compared to baking applications.
- Flavor and Texture: – Sugar loses freshness and flavor over time; discard when it no longer performs well in recipes.
By following these guidelines, your sugar sculptures can remain fresh and enjoyable for extended periods, enhancing both aesthetic and culinary experiences!
How Far in Advance Can I Make Sugar Paste Decorations?
Sugar paste, often referred to as fondant, is a versatile medium for cake decorating. Its pliable nature allows for intricate designs, but achieving the best results requires careful planning and understanding of its properties.
Preparation and Mixing
Mixing sugar paste typically involves combining powdered sugar with a fat source like butter or shortening. The mixture should be smooth and pliable. For best results, adjust the moisture level to prevent it from being too dry or crumbly. A slight addition of liquid can help achieve the desired texture.
Rolling and Shaping
Once mixed, roll out the fondant on a lightly floured surface. Dust with powdered sugar to prevent sticking. Shape the fondant into your desired designs, such as flowers, letters, or numbers. Thickness is crucial—too thin risks tearing, while too thick can lead to weight on the cake.
Drying Time
After shaping, allow the fondant to dry. Drying time varies based on humidity and room temperature. In dry conditions, it may take a few hours, while humid environments could extend this duration. Ensure it’s fully dry before applying to avoid smudging.
Application and Storage
Apply decorations gently using a palette knife or dust with powdered sugar for smoothness. Store the decorated cake in a cool, dry place. If kept as a keepsake, consider separating the decorations from the cake to preserve their shape.
Weather Considerations
High humidity can delay drying, so using a dehumidifier may aid in controlling the environment. Store decorations away from direct sunlight to prevent fading or bleeding of colors.
Shelf Life Post-Decoration
Fondant may harden or crack if left too long, affecting adhesion. Use it while it remains pliable for best results. Personal preference also plays a role—some find aged fondant more workable, suggesting making it a day or two in advance for improved handling.
By understanding these factors, you can plan your sugar paste decorations confidently, ensuring they enhance your cake beautifully and lastingly.
How to Attach Figurines to a Cake
To successfully attach figurines to a cake, follow these steps for a secure and decorative placement:
- Edible Glue: The most popular method for attaching decorations like figurines to cakes is using edible glue. Available in squeeze bottles, it’s ideal for securing fondant, chocolates, and other decorations. Apply a small amount along the base of the figurine and gently press it onto the cake.
- Toothpick or Dowel Support: For added stability, insert a toothpick or small dowel into the cake below the figurine. This helps distribute the weight evenly and prevents the figurine from slipping or tilting.
- Buttercream Adhesive: Spread a thin layer of buttercream on the cake’s surface and the bottom of the figurine. Allow it to set for a few minutes before placing the figurine in place. This creates a secure, food-safe bond.
- Hot Glue (Cautious Use): As a temporary solution, apply a small bead of hot glue at the base of the figurine. Test on an inconspicuous area first to ensure it doesn’t melt or damage the cake or figurine.
- Surface Preparation: Clean the cake’s surface and the figurine’s base to remove any dirt or oils that might interfere with the adhesive’s effectiveness. A lightly dampened cloth works well for this step.
- Positioning: Place the figurine in a stable position, preferably on a flat surface or against the cake’s edge, to avoid tipping. Consider using a small piece of cardboard or paper as a buffer between the figurine and the cake for extra support.
By combining edible glue with a toothpick or dowel support, you can ensure your figurine stays securely attached and visually appealing on your cake. Always allow the adhesive to fully set before moving or displaying the cake to prevent displacement.
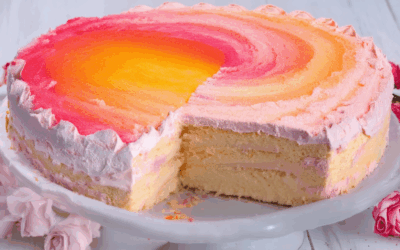
How to Melt Sugar for Cake Decorations
To melt sugar for cake decorations, follow these simple steps:
- Preheat the Oven: Preheat your oven to 350°F (175°C). Ensure the rack is placed in the center of the oven.
- Prepare the Pan: Grease a baking pan or line it with aluminum foil, ensuring it’s smooth and without holes.
- Melt the Sugar: Place the sugar in the prepared pan. For decorative purposes, you may use 1-2 cups of sugar depending on the design size. Bake for 10-15 minutes, checking frequently to prevent burning.
- Check for Doneness: Remove the pan from the oven once the sugar has melted and turned a golden color. If it’s still granular, extend the baking time by a few minutes.
- Cool Slightly: Allow the melted sugar to cool slightly on the baking sheet for easier handling.
- Shape the Sugar: Pour the cooled sugar onto the prepared aluminum foil. Use molds, cookie cutters, or your hands to shape it into desired forms. Let it harden completely before using.
Additional Tips:)
- Add a touch of butter or vanilla extract for a smoother texture.
- Store leftover melted sugar in an airtight container for future use.
- If the sugar begins to crystallize, place it in a warm spot to remelt it gently.
Enjoy crafting beautiful sugar decorations for your cakes!
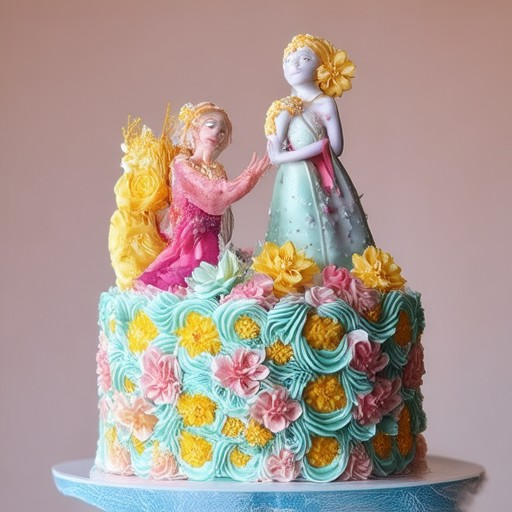
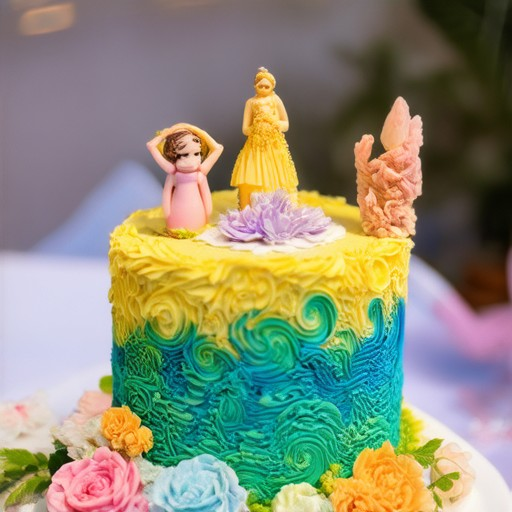
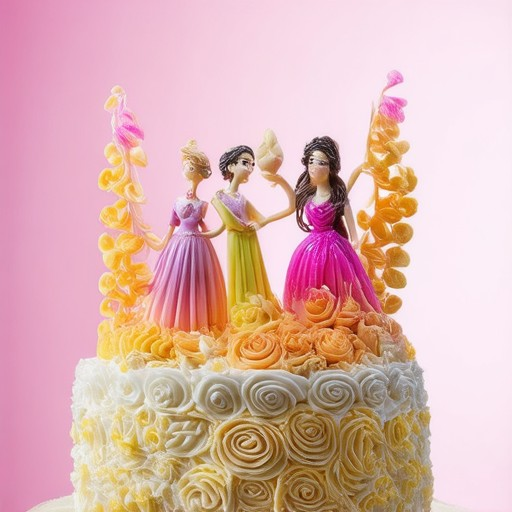
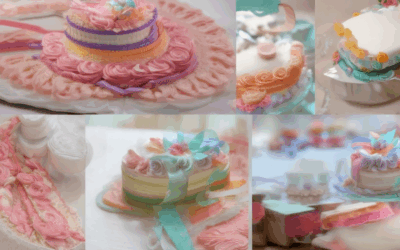
Best Sugar Sculpture Cake Topper Ideas
Transform your cakes into works of art with these stunning sugar sculpture ideas. Elevate your baking skills and impress your guests with visually captivating designs.
- Nature-Inspired Designs: Create a sugar sculpture featuring intricate flower patterns, delicate leaves, or whimsical butterflies. These naturalistic designs bring a breath of fresh air to your dessert.
- Geometric Shapes: Opt for clean, modern looks with geometric shapes like circles, triangles, or hexagons. These symmetrical designs add a contemporary edge to your cake.
- Abstract Art Pieces: Unleash your creativity with abstract sugar sculptures. Use vibrant colors and unconventional forms to create a truly unique piece.
- Seasonal or Event-Themed: Tailor your design to the occasion. Celebrate holidays with seasonal motifs like pumpkins, snowflakes, or Easter eggs.
- Miniature Sculptures: Add a playful touch with small sugar sculptures of animals, characters, or figures. These mini masterpieces can be placed strategically around the cake.
- Custom Logos or Monograms: Personalize your cake with sugar sculptures featuring initials, names, or company logos. This adds a special touch for milestone celebrations.
- Candy or Chocolate-Covered Numbers/Letters: Enhance the visual appeal with candy-coated numbers or letters. This sweet addition complements the overall dessert aesthetic perfectly.
- Edible Films or Transfers: Achieve a polished look with edible films or transfers. These options offer a smooth, professional finish to your sugar sculpture.
For more inspiration and detailed guides on creating these sugar sculptures, visit our cake decorating tutorials section. Explore our collection of sugar art ideas to find the perfect design for your next creation.
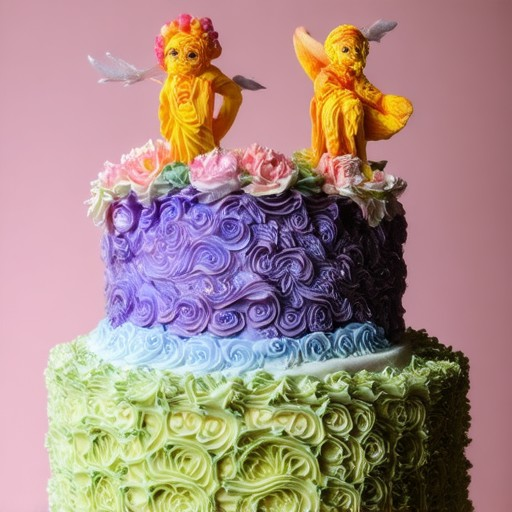
Sugar Sculpture Cake Topper Ideas
Creating a visually stunning sugar sculpture cake topper involves creativity and attention to detail. Here are some top ideas to inspire your dessert creation:
- Nature-Inspired Designs : Use realistic-looking sugar flowers, leaves, or butterflies to mimic natural beauty. These can be crafted using fondant or gum paste for a polished look.
- Geometric Shapes : Opt for modern and clean designs using edible silver leaf or paint. Geometric patterns add sophistication and symmetry to your cake.
- Whimsical Animal Themes : Add a playful touch with sugar animal toppers like butterflies, rabbits, or elephants. These are ideal for children’s parties or themed events.
- Seasonal or Holiday Motifs : Incorporate seasonal elements like Christmas trees, Easter eggs, or Halloween pumpkins. Use vibrant colors that align with the occasion.
- Personalized Designs : Customize your topper with names, dates, or special messages. This adds a unique and heartfelt element to your dessert.
For tools and supplies, consider checking out Wilton for high-quality cake decorating products or visit Sugarcraft Supply for professional-grade ingredients and tools.
Remember to let your imagination run wild and experiment with different textures and colors to create a truly unique and eye-catching sugar sculpture cake topper!

0 Comments